
 Save to Pinterest
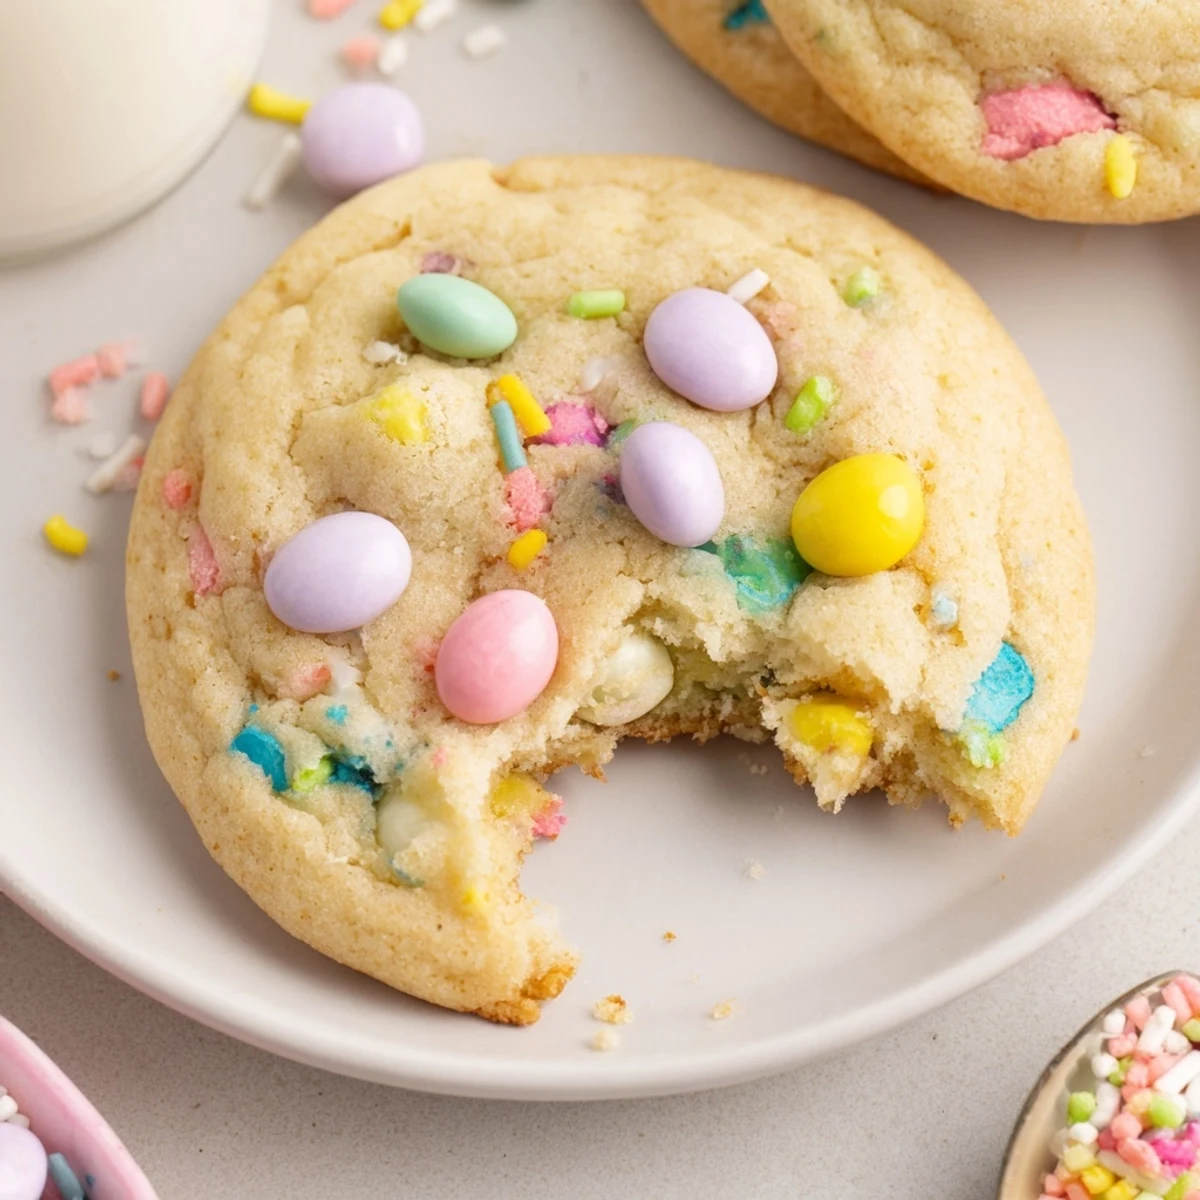
 These soft Easter Funfetti cookies blend a tender, buttery dough with pastel sprinkles and candy-coated chocolates for festive color. Ready in about 25 minutes total, the dough comes together in one bowl; scoop tablespoon-sized portions and bake 9–11 minutes until edges are lightly golden. Avoid overbaking for a soft center and store cooled cookies in an airtight container up to 5 days.
The first time I made these Easter Funfetti Cookies, my kitchen filled with the buttery scent of baking dough and bursts of color from every corner of the counter. I didn’t expect the candies to tumble everywhere—my cat certainly didn’t appreciate that—but it ended in laughter and a plate of cookies that seemed to cheer up the rainiest spring day. Biting into one felt like an instant invitation to celebrate, whether or not eggs had been hidden yet. Sometimes, the simple sight of bright sprinkles on a grey afternoon is a celebration all by itself.
One year, we piled into the kitchen after an egg hunt, with little hands still smudged in chocolate and grass, and these cookies became an impromptu reward for whoever found the last egg. I’d planned a big dessert, but these cookies vanished twice as fast. The only real debate was which color M&M made the best bite. Even my quiet uncle got caught sneaking another cookie when he thought no one was looking.
Ingredients
- All-purpose flour: Gives the cookies their structure and chewiness—sift it first if you want perfectly even dough, but don’t stress if you skip this.
- Baking soda: Helps the cookies puff up rather than flatten; always check it’s fresh for the softest results.
- Salt: Just a pinch, but it wakes up the flavors and balances all that sweetness.
- Unsalted butter: Softened is key for easy creaming, and room temperature gives you the fluffiest texture.
- Granulated sugar: Sweetens and adds just the right crisp at the edges.
- Light brown sugar: Adds a hint of caramel flavor and keeps the cookies extra tender.
- Eggs: Bind everything together; I always crack them into a separate cup just in case of runaway shell.
- Vanilla extract: A splash brings out all the best bakery notes—good vanilla really shines here.
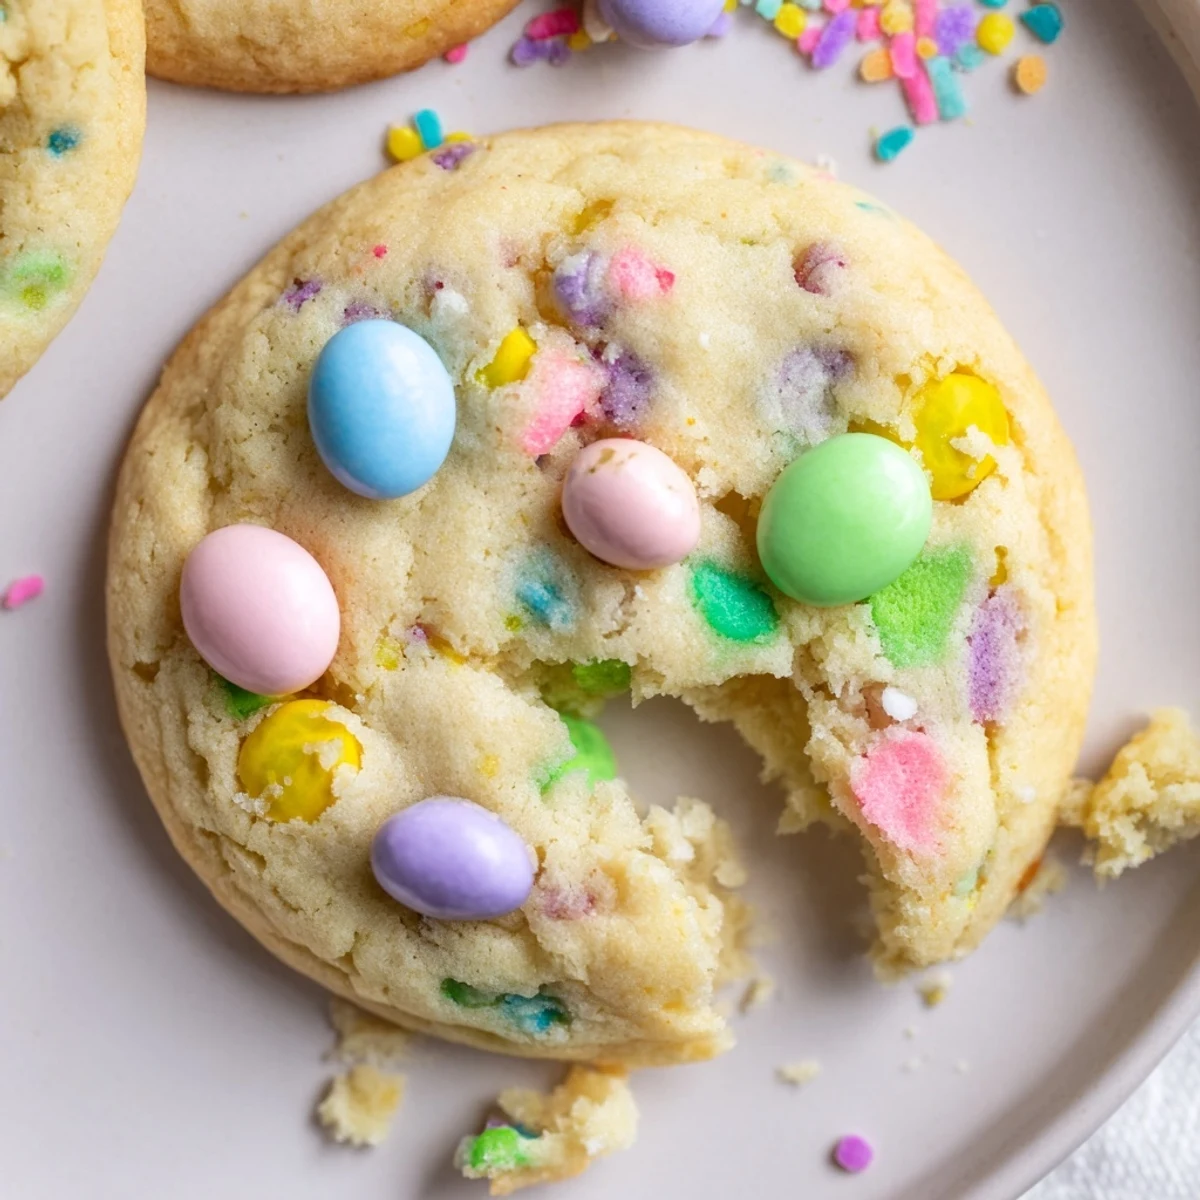
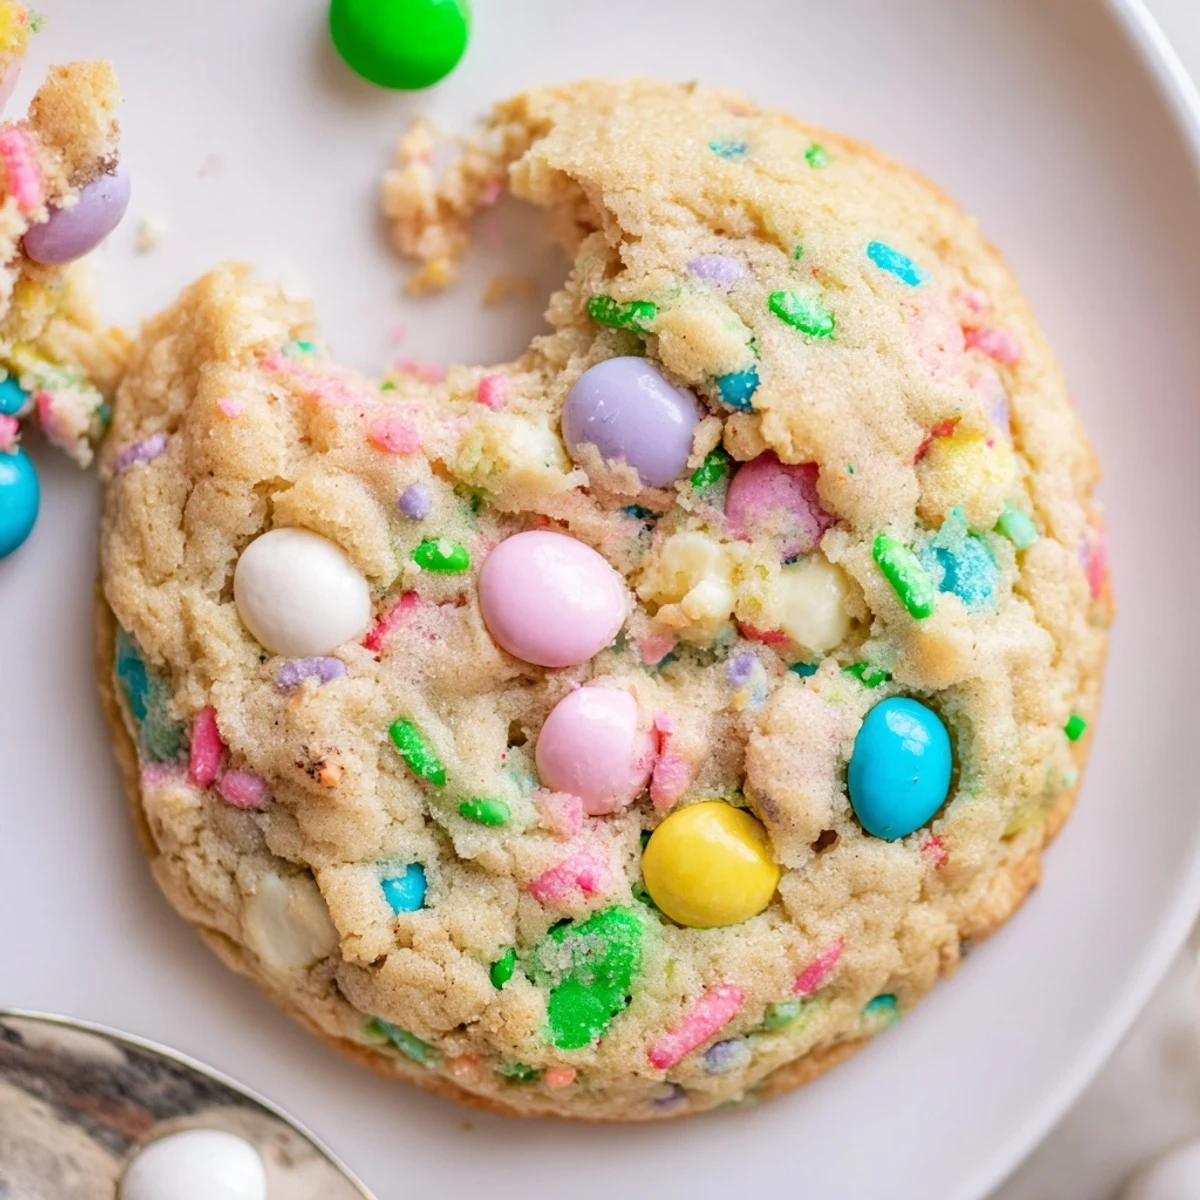
- Pastel-colored sprinkles: Jimmies or confetti style are best because they won’t bleed into the batter and stay joyful through baking.
- Easter-themed candy-coated chocolates: Adds crunch and bursts of chocolate; pastel M&Ms or mini eggs are my go-to, but you can swap in anything festive you have on hand.
Instructions
- Prep for baking:
- Preheat your oven to 350°F (175°C) and line two baking sheets with parchment paper so nothing sticks and cleanup is easy.
- Combine dry ingredients:
- Whisk the flour, baking soda, and salt together in a medium bowl—the sound of the whisk always reminds me the fun is just starting.
- Cream butter and sugars:
- Beat your softened butter, granulated sugar, and brown sugar in a large bowl until the mixture is light and fluffy and the color turns almost pale—about 2 or 3 minutes with a mixer.
- Add eggs and vanilla:
- Add the eggs one at a time, letting each disappear before pouring in the next, then swirl in the vanilla until it smells deeply sweet.
- Mix it all together:
- Gradually tip the dry ingredients into the wet, mixing just until you don’t see streaks of flour—overmixing once gave me tough cookies, so stop as soon as it comes together.
- Fold in the sprinkles and candies:
- Trade your mixer for a spatula and gently fold in the sprinkles and candy-coated chocolates so every scoop has a bit of fun and color.
- Scoop the dough:
- Drop rounded tablespoons of dough onto your prepared sheets about 2 inches apart—if you have extra candies, press a few on top for an extra festive look.
- Bake:
- Bake for 9 to 11 minutes, keeping an eye out for golden edges and soft centers; pull them out even if they look slightly underdone in the middle for truly tender cookies.
- Cool completely:
- Let the cookies cool on the baking sheets for about 5 minutes before transferring to a wire rack—the cookies firm up as they cool, and the chocolate candies stay gooey if you sneak one warm.
 Save to Pinterest
 There was a moment last spring when friends dropped by unannounced with coffee and stories, and these cookies turned the kitchen into a spare little party. Sharing them made the ordinary afternoon feel anything but routine. Sometimes I think these bright bites have the power to bring people together, no matter what calendar the day falls on.
Sprinkle Science: Getting the Colors Right
Not all sprinkles are created equal—some bleed color into the dough and fade out in the oven. Jimmies or confetti-style hold their shape and brighten the finished cookie without streaking. If you want your cookies to look festive after baking, skip sugar pearls or sanding sugar and choose the ones that can stand up to heat. One rainy afternoon, I learned the hard way when nonpareils melted like tie-dye; delicious, but not very Easter-like.
Easy Ways to Customize Your Cookies
If pastel candies aren&t your thing, swap in white chocolate chips, chopped dried fruit, or even a handful of crushed pretzels for a salty twist. Changing up the mix-ins means you can celebrate any holiday or cheer up any day without extra shopping. The base recipe is incredibly forgiving to personal tastes. My neighbor once used chopped peanut butter eggs, and every kid in the block wanted a second batch.
Storing and Sharing for Maximum Joy
An airtight container is your cookie&s best friend: these stay soft for days if you keep them sealed up and at room temperature. Watch out, though—if left uncovered, the cookies firm up quickly, but they make excellent dunkers for coffee or milk. I&rsquove even shipped them across state lines in spring care packages without a single one crumbling.
- Don&apost store cookies with apples or they&ll get soggy.
- Refresh cookies in a warm oven for a minute if they seem stale.
- Always wait until completely cool before stacking to avoid sticking.
 Save to Pinterest
 Whatever the occasion, these cookies invite a bit more color and joy into the kitchen. Here&s to hope your batch brings the same bursts of happiness they do in our home.
Questions & Answers
- → How do I keep the cookies soft?
-
Remove cookies when edges are just golden and centers still slightly pale, then cool a few minutes on the sheet before transferring to a rack. Storing them in an airtight container with a slice of bread can help retain moisture for a day or two.
- → Can I swap the candy-coated chocolates?
-
Yes. Substitute white chocolate chips, chopped pastel candies, or chopped chocolate bars for a different texture and flavor. Fold them in gently so colors and pieces distribute without overmixing the dough.
- → Why do my cookies spread too much?
-
Oversoftened butter, warm dough, or too little flour cause spreading. Chill the dough 10–20 minutes before baking, or use slightly firmer butter and ensure proper flour measurement by spooning and leveling.
- → Can these be frozen?
-
Yes. Freeze unbaked scoops on a tray until firm, then transfer to a sealed container for up to 3 months. Bake from frozen, adding a minute or two to the bake time. Baked cookies also freeze well; thaw at room temperature.
- → How do I get evenly sized cookies?
-
Use a tablespoon scoop or a small cookie scoop to portion dough, spacing portions about 2 inches apart on the sheet. Consistent sizing ensures even bake times and uniform texture.
- → Any tips for extra festive appearance?
-
Press a few extra sprinkles or candies onto the tops of each dough ball just before baking to keep colors bright. Opt for a mix of jimmies and confetti sprinkles for varied texture and visual interest.