 Save to Pinterest
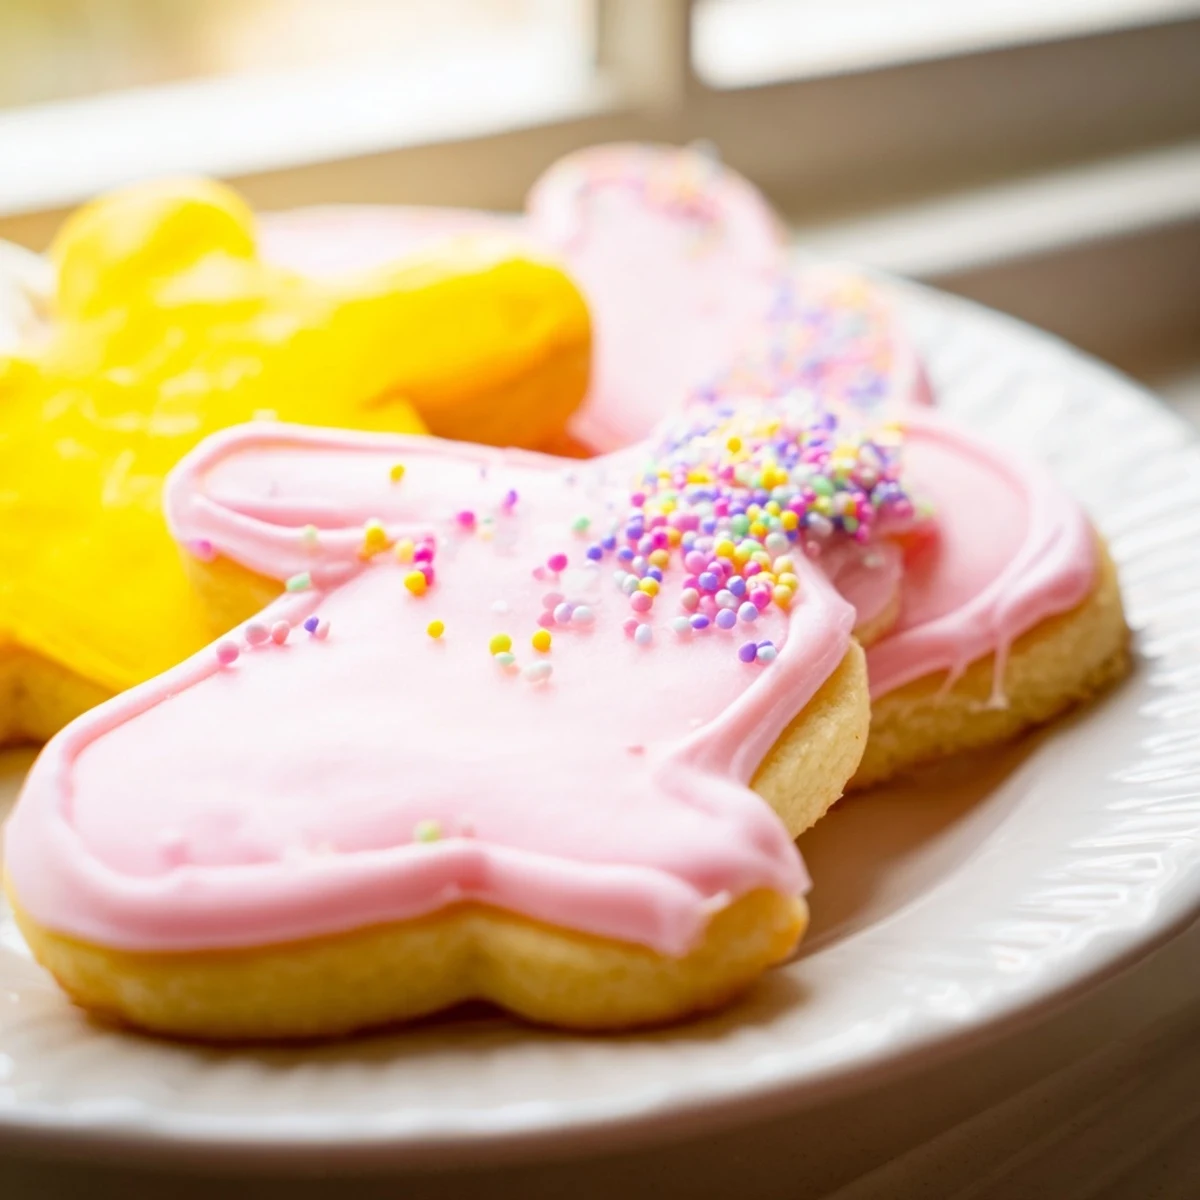
 Create beautiful, festive treats perfect for Easter and spring celebrations with these delightful sugar cookies. The buttery dough bakes into tender cookies that hold their shape beautifully when cut into eggs, bunnies, or flowers. A smooth royal icing base lets you customize with pastel colors and sprinkles for stunning results that taste as wonderful as they look. The dough requires chilling time, ensuring clean edges and perfect shapes every time you bake them.
Last Easter, my daughter asked if we could make cookies that looked like tiny edible gardens. I'd never attempted decorated sugar cookies before, but something about her excitement made me grab the pastel food coloring I'd bought years ago and never opened.
My kitchen counter looked like a rainbow explosion by the time we finished decorating. There was flour on the floor, pink icing on my shirt, and my daughter was proudly wearing more sprinkles than actually made it onto the cookies.
Ingredients
- 2 1/4 cups all-purpose flour: Sifted to prevent any lumps, creating that melt in your mouth texture that makes these cookies irresistible
- 1/2 teaspoon baking powder: Just enough lift to give the cookies a subtle rise without losing their shape during baking
- 1/4 teaspoon salt: Enhances the butter flavor and balances the sweetness of both dough and icing
- 3/4 cup unsalted butter: Room temperature is crucial here, cold butter wont cream properly and youll end up with dense cookies
- 3/4 cup granulated sugar: Creamed thoroughly with the butter until the mixture looks pale and fluffy, about 2 to 3 minutes
- 1 large egg: Adds structure and richness, helping the cookies hold their shape while baking
- 2 teaspoons pure vanilla extract: Dont skimp here, real vanilla makes all the difference in flavor
- 1/4 teaspoon almond extract: Completely optional, but it adds a wonderful subtle nutty background flavor that pairs beautifully with the icing
- 2 cups powdered sugar: Sifted before making the icing to ensure a perfectly smooth consistency
- 1 1/2 tablespoons meringue powder: The secret ingredient that helps royal icing harden properly without any strange aftertaste
- 3 to 4 tablespoons water: Add this gradually, you want the icing thick enough to hold its shape but thin enough to spread smoothly
- Gel food coloring: Pastel pink, yellow, green, and purple work beautifully for Easter, gel gives more vibrant colors than liquid
- Easter themed sprinkles: Optional, but my daughter insists theyre absolutely necessary for the full spring experience
Instructions
- Whisk the dry ingredients:
- In a medium bowl, combine the flour, baking powder, and salt until evenly distributed, then set it aside where it can wait patiently
- Cream butter and sugar:
- Beat the butter and sugar together until the mixture is noticeably lighter and fluffier, usually about 2 to 3 minutes of serious mixing
- Add the wet ingredients:
- Mix in the egg followed by both extracts, stopping to scrape down the sides of the bowl so everything gets incorporated evenly
- Combine everything:
- Gradually pour in the dry ingredients, mixing just until the flour disappears, overmixing will make tough cookies
- Chill the dough:
- Divide into two disks, wrap tightly in plastic, and let rest in the fridge for at least an hour, this step prevents the cookies from spreading too much
- Prepare for baking:
- Preheat your oven to 350 degrees Fahrenheit and line your baking sheets with parchment paper for easy cleanup
- Roll and cut:
- Roll the dough to a quarter inch thickness on a floured surface, then cut into your favorite Easter shapes and transfer to the prepared sheets
- Bake to perfection:
- Bake for 9 to 11 minutes, watching carefully for the slightest hint of golden brown around the edges, then cool completely on a wire rack
- Make the royal icing:
- Whisk together the powdered sugar, meringue powder, and water until smooth and glossy, then adjust consistency with more water if needed
- Color and decorate:
- Divide the icing into small bowls, tint each with your chosen colors, then have fun decorating the cooled cookies with icing and sprinkles
 Save to Pinterest
 When my family tried these cookies for the first time, my niece actually asked if Id bought them from a fancy bakery. The combination of that buttery vanilla cookie base with the sweet decorative icing made them disappear faster than I could believe.
Making Your Icing the Right Consistency
Getting royal icing to the perfect consistency takes practice. Flood icing should flow like honey and settle smoothly within 15 seconds, while outline icing needs to be thick enough to hold its shape like toothpaste. Ive learned to test this by dragging a knife through the icing and counting how long it takes for the line to disappear.
Storage Secrets
These cookies actually taste better on day two, as the flavors have time to meld and the icing sets completely. Store them in a single layer between sheets of wax paper in an airtight container, and theyll stay fresh for a full week. Freezing undecorated cookies works beautifully too, just thaw them on a wire rack before icing.
Decorating Like a Pro
Start with a border of slightly thicker icing around each cookie edge, then flood the center with thinner icing. Use a toothpick to gently guide the icing into corners and pop any air bubbles that rise to the surface.
- Let your base layer dry completely for at least 2 hours before adding details like dots or stripes
- Keep a damp paper towel nearby to wipe off your knife or toothpick between colors
- Work on one color at a time to avoid accidentally mixing your pastels into muddy browns
 Save to Pinterest
 Theres something deeply satisfying about creating cookies that look as good as they taste, especially when they bring such joy to the people you love. Happy baking, and may your Easter be filled with sweet moments and colorful memories.
Questions & Answers
- → How long should I chill the cookie dough?
-
Chill the dough for at least 1 hour. This helps the cookies maintain their shape during baking and prevents spreading, ensuring clean edges on your Easter shapes.
- → Can I make these cookies ahead of time?
-
Yes! Store undecorated cookies in an airtight container for up to one week. You can also freeze the dough disks for up to 3 months and thaw when ready to bake.
- → What consistency should the royal icing be?
-
The icing should be smooth and glossy, with a consistency similar to honey. It should hold its shape when piped but spread slightly for a smooth finish. Add water one teaspoon at a time to adjust.
- → How do I prevent the cookies from spreading too much?
-
Proper chilling is key—don't skip the refrigerator time. Also, avoid over-creaming the butter and sugar, and measure flour accurately by spooning it into the measuring cup rather than scooping directly.
- → Can I use liquid food coloring instead of gel?
-
Gel coloring is preferred because it won't thin out your icing. Liquid food coloring works in a pinch, but you may need to adjust by adding slightly more powdered sugar to maintain the proper consistency.
- → What's the best way to decorate with icing?
-
Outline each cookie with thicker icing first, let it set for a few minutes, then flood the center with thinner icing. Add sprinkles while the icing is still wet so they adhere properly. Allow to dry completely before stacking.