Save to Pinterest
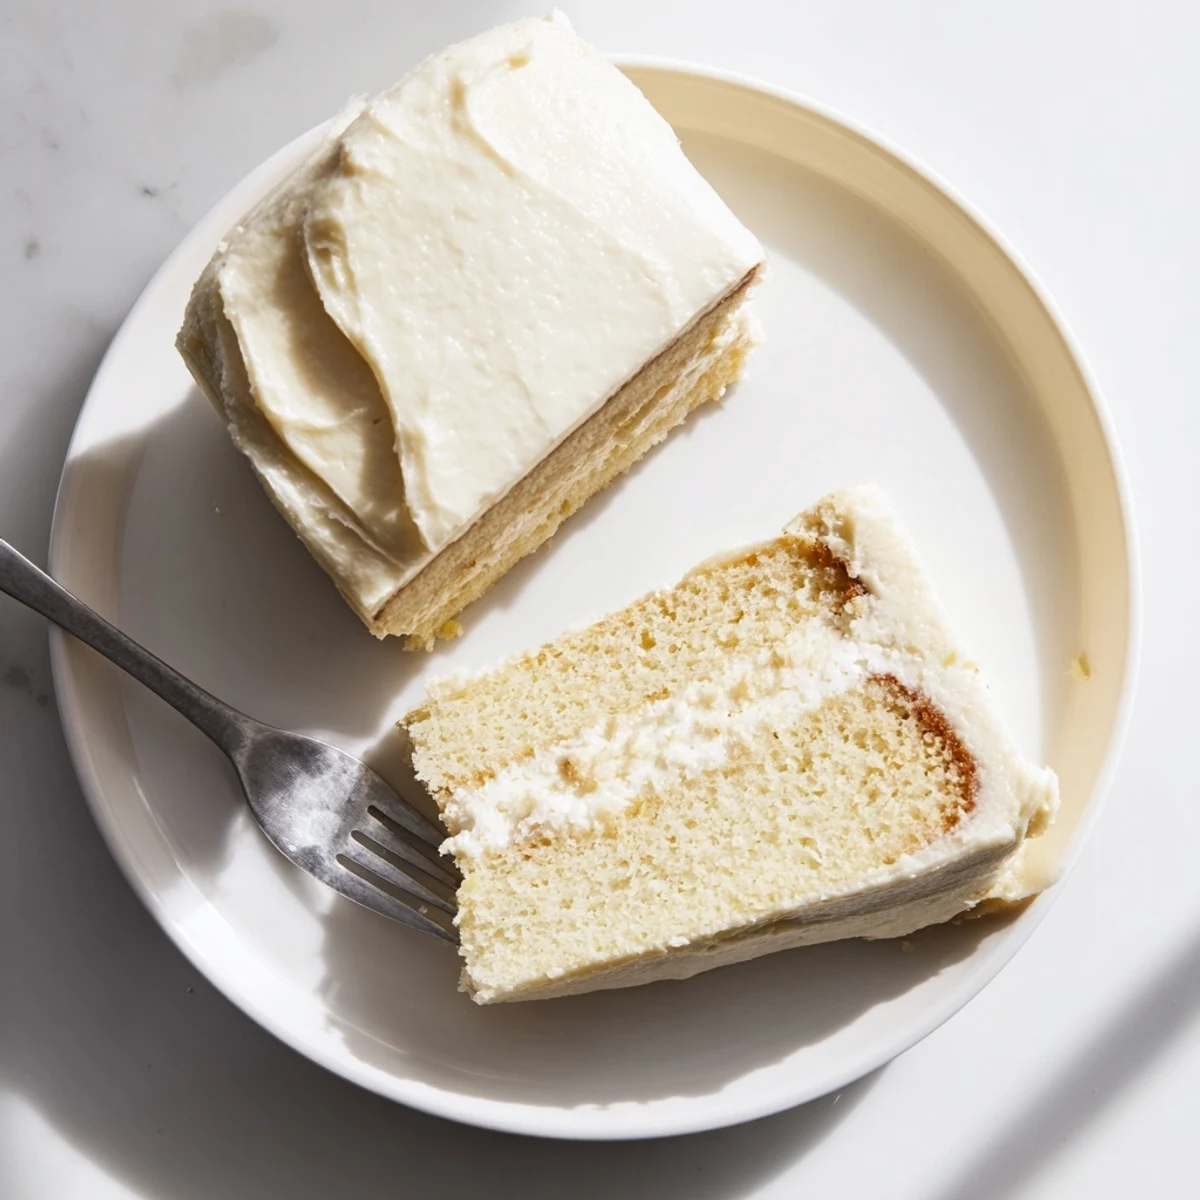
 This classic vanilla cake delivers perfectly moist, tender layers with a rich buttercream frosting. The foolproof method combines butter, eggs, and pure vanilla extract for unbeatable flavor. Ideal for birthdays, holidays, or weekend baking.
Prepare the batter in just 20 minutes, then bake until golden. The signature vanilla buttercream whips up silky smooth, perfect for layering and decorating. Make ahead and freeze for up to two months, or customize with chocolate or berry fillings.
My youngest daughter turned seven last week and begged me to help her bake the cake herself this time. We stood side by side in the kitchen, flour dusting both our aprons, as I showed her how to properly cream butter and sugar until it turns pale and cloudlike.
Last summer I made three of these cakes in one weekend for my niece's graduation party. By the third batch I could eyeball the ingredients and had finally memorized exactly how long to beat the frosting for that perfect spreadable consistency.
Ingredients
- All-purpose flour: The protein structure creates the perfect tender crumb without becoming dense
- Baking powder: This double acting agent gives the cake its impressive rise and lightness
- Salt: Just enough to enhance the vanilla without making the cake taste salty
- Unsalted butter: Room temperature butter is non negotiable here it should yield to gentle finger pressure
- Granulated sugar: Creaming this with butter creates tiny air pockets that make the cake fluffy
- Large eggs: Room temperature eggs incorporate better and help the batter emulsify properly
- Pure vanilla extract: Splurge on the good stuff since vanilla is the star flavor here
- Whole milk: Full fat milk creates a more tender and moist crumb than low fat alternatives
- Buttercream butter: Again room temperature is crucial for silky smooth frosting without lumps
- Powdered sugar: Sifting prevents stubborn lumps that would otherwise ruin the frosting texture
- Vanilla and salt: These two ingredients balance the sweetness and make the frosting taste professionally made
Instructions
- Preheat and prep your pans:
- Set your oven to 350°F and generously grease two round cake pans then cut parchment circles to fit the bottoms. This small step makes removing the cakes effortless later.
- Whisk the dry ingredients:
- Combine flour baking powder and salt in a medium bowl. I like to use a whisk instead of sifting it works just as well for evenly distributing the leavening.
- Cream butter and sugar:
- Beat the butter and sugar together for a full three to four minutes until the mixture looks pale and fluffy. This step creates the cakes tender texture so do not rush it.
- Add eggs and vanilla:
- Drop in the eggs one at a time letting each fully incorporate before adding the next. Then pour in the vanilla and watch the batter become glossy and smooth.
- Combine wet and dry:
- Alternate adding the flour mixture and milk starting and ending with the dry ingredients. Stop mixing as soon as the last streaks of flour disappear to prevent tough cake.
- Bake to golden perfection:
- Divide the batter evenly between your prepared pans and bake for 28 to 32 minutes. The cake is done when a toothpick comes out clean and the tops spring back when touched.
- Cool completely:
- Let the cakes rest in their pans for exactly ten minutes then turn them out onto wire racks. Frosting warm cake is a rookie mistake that causes melting and sliding.
- Make the buttercream:
- Beat the butter until creamy then gradually add powdered sugar milk vanilla and salt. Whip for another three minutes until the frosting becomes light and spreadable.
- Assemble and frost:
- Place one cake layer on your serving plate spread a generous layer of frosting on top then add the second layer. Use a spatula to coat the top and sides working from the center outward.
 Save to Pinterest
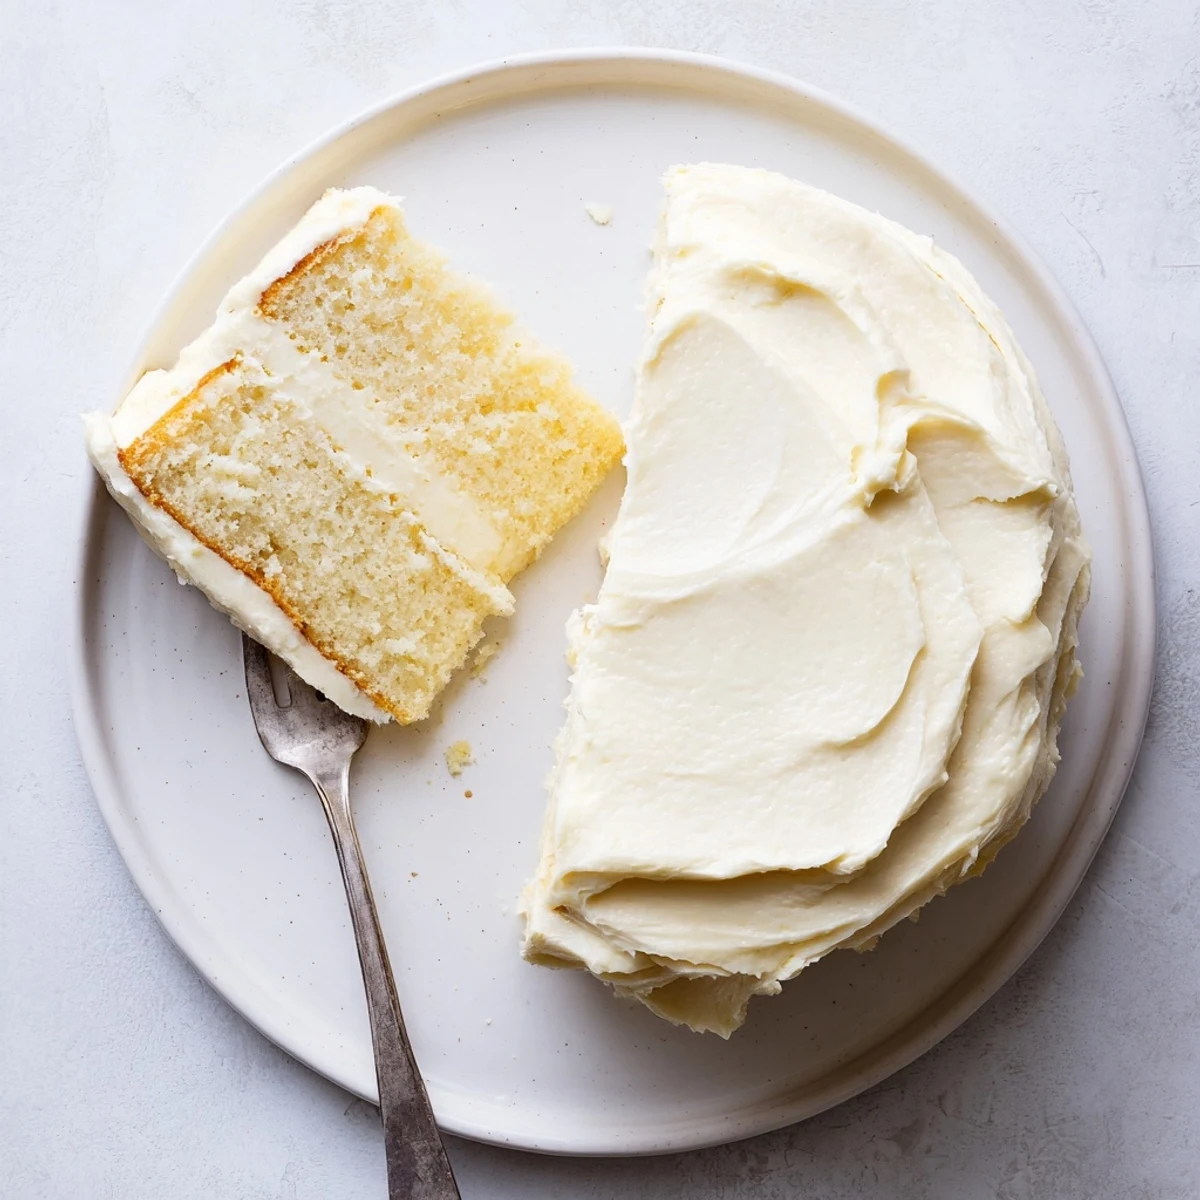
 This recipe has seen me through countless birthdays anniversaries and last minute dinner parties. Something about that classic vanilla flavor just makes people feel at home.
Making It Ahead
I have learned that baking the layers a day ahead actually improves the texture. Wrap each cooled cake tightly in plastic wrap and freeze them for up to two months then thaw and frost when needed.
Flavor Variations
The beauty of this vanilla cake is how beautifully it plays with other flavors. Try adding fresh lemon zest to the batter or swap some of the vanilla for almond extract for a subtle twist that always surprises guests.
Serving Suggestions
This cake tastes even better after sitting at room temperature for about an hour so take it out of the fridge before serving. A cup of hot coffee or a glass of cold milk are the perfect companions.
- Add fresh berries between the layers for a burst of brightness
- Sprinkle rainbow sprinkles on top for instant birthday vibes
- Store leftovers covered at room temperature for up to three days
 Save to Pinterest
 There is something almost magical about a perfectly made vanilla cake. I hope this recipe becomes part of your family story too.
Questions & Answers
- → How do I know when the vanilla cake is done baking?
-
Insert a toothpick into the center of the cake. If it comes out clean or with just a few moist crumbs, the cake is ready. The edges should pull slightly away from the pan, and the top should spring back when gently touched.
- → Can I make this vanilla cake in advance?
-
Yes! Bake the layers completely, cool thoroughly, wrap tightly in plastic, and freeze for up to two months. Thaw overnight at room temperature before frosting. You can also frost the cake a day ahead; store covered at room temperature.
- → What's the secret to a moist vanilla cake?
-
Room temperature ingredients blend smoothly for even texture. Don't overmix the batter—stop as soon as flour disappears. Measure flour accurately, and avoid overbaking. These steps ensure tender, moist layers every time.
- → How can I enhance the vanilla flavor?
-
Use high-quality pure vanilla extract rather than imitation. For intense flavor, scrape seeds from one vanilla bean into the batter. You can also add an extra teaspoon of vanilla extract to both the cake and buttercream.
- → Why did my cake sink in the middle?
-
Sinking usually indicates underbaking or opening the oven too early. Ensure your oven is fully preheated and avoid checking before 25 minutes. The cake needs proper structure to set before the door opens.
- → Can I substitute cake flour for all-purpose flour?
-
Yes! Replace the all-purpose flour with an equal amount of cake flour for an even lighter, more delicate crumb. No other adjustments needed to the recipe.