 Save to Pinterest
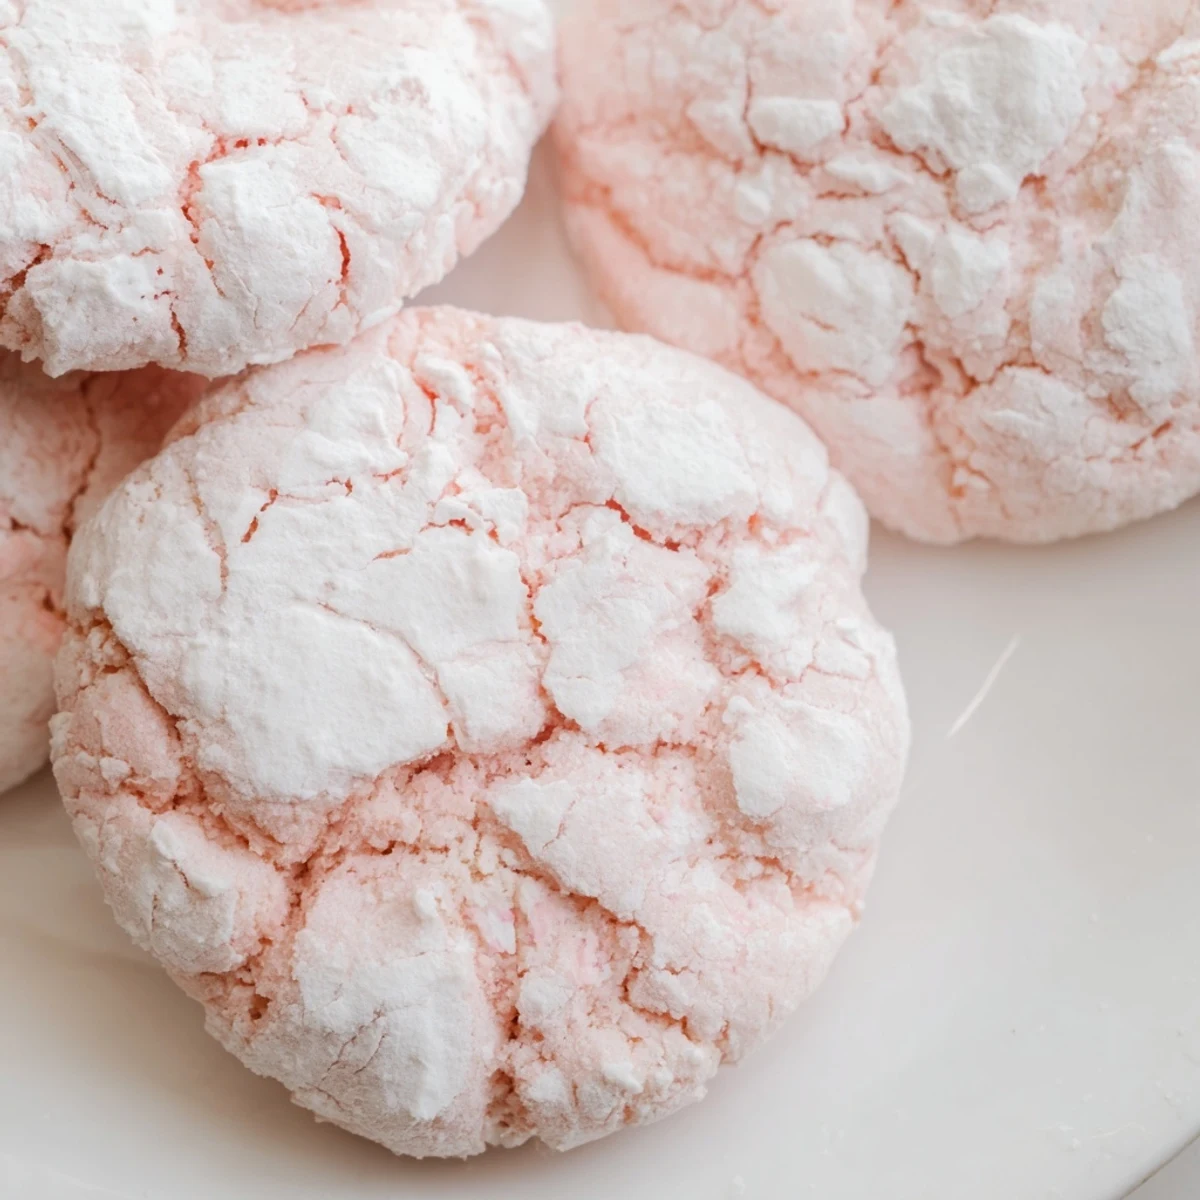
 These soft, chewy pastel crinkle cookies feature a distinctive crackled appearance from rolling the dough in powdered sugar before baking. The tender cookie base gets divided and tinted with gel food coloring to create beautiful pink, yellow, green, and blue shades. The baking process creates the signature crinkled texture as the powdered sugar coating forms cracks while the cookies spread in the oven.
Perfect for spring celebrations, baby showers, birthday parties, or anytime you want a colorful treat. The vanilla-forward dough pairs wonderfully with the light sweetness of the powdered sugar exterior. Each cookie bakes in just 10-12 minutes and yields 24 servings.
For best results, chill the colored dough briefly if it feels too soft to handle. The gel food coloring provides vibrant pastel hues without adding excess liquid. Store in an airtight container for up to 5 days to maintain freshness and texture.
The first time I made these pastel crinkle cookies, it was for my daughter's spring birthday party. I'd planned everything so carefully but somehow forgot to buy the bright pink icing I'd promised. Standing in my kitchen at 9pm, frantically searching through drawers, I found half-used gel food coloring tubes from a Halloween project months before. Those pastel cookies saved the party and honestly they were even more beautiful than anything I could have planned.
My neighbor actually stopped by while I was rolling the dough balls in powdered sugar that first time. She ended up staying an hour helping me color the dough purple and yellow because we couldnt decide on just pink. Now whenever spring arrives, we both make a batch together while our kids play in the backyard. Its become this unexpected tradition I treasure more than I ever expected.
Ingredients
- All-purpose flour: The backbone of these cookies providing structure without being too dense
- Baking powder: Gives the cookies just enough lift to create those gorgeous crackles as they bake
- Salt: A small amount balances the sweetness and makes all flavors pop
- Unsalted butter: Room temperature butter creates the perfect tender crumb
- Granulated sugar: Creamed with butter to create air pockets for a lighter texture
- Eggs: Bind everything together while adding richness
- Vanilla extract: Pure vanilla makes these cookies taste like something from a bakery
- Whole milk: Adds moisture and helps create that soft chewy center
- Gel food coloring: Gel coloring gives you vibrant pastels without thinning the dough
- Powdered sugar: The magic coating that creates those signature cracks as cookies bake
Instructions
- Prepare your baking space:
- Preheat your oven to 350°F and line two baking sheets with parchment paper so your cookies bake evenly.
- Mix the dry ingredients:
- Whisk together flour baking powder and salt in a medium bowl until well combined then set aside.
- Cream the butter and sugar:
- Beat softened butter and granulated sugar until the mixture looks pale and fluffy which takes about 2-3 minutes.
- Add eggs and vanilla:
- Add eggs one at a time mixing well after each then pour in the vanilla extract.
- Combine everything:
- Add flour mixture to the wet ingredients alternating with milk mixing just until you dont see dry streaks.
- Color the dough:
- Divide dough into 3 or 4 bowls then add a few drops of gel coloring to each mixing gently for soft pastel shades.
- Chill if needed:
- If the dough feels too sticky to work with pop it in the fridge for 20 minutes to firm up slightly.
- Shape and coat:
- Scoop tablespoon-sized portions roll generously in powdered sugar and place 2 inches apart on your prepared sheets.
- Bake until perfect:
- Bake for 10-12 minutes until edges look set but centers still feel soft and the sugar coating has cracked beautifully.
- Cool completely:
- Let cookies rest on the baking sheet for 5 minutes before moving them to a wire rack.
 Save to Pinterest
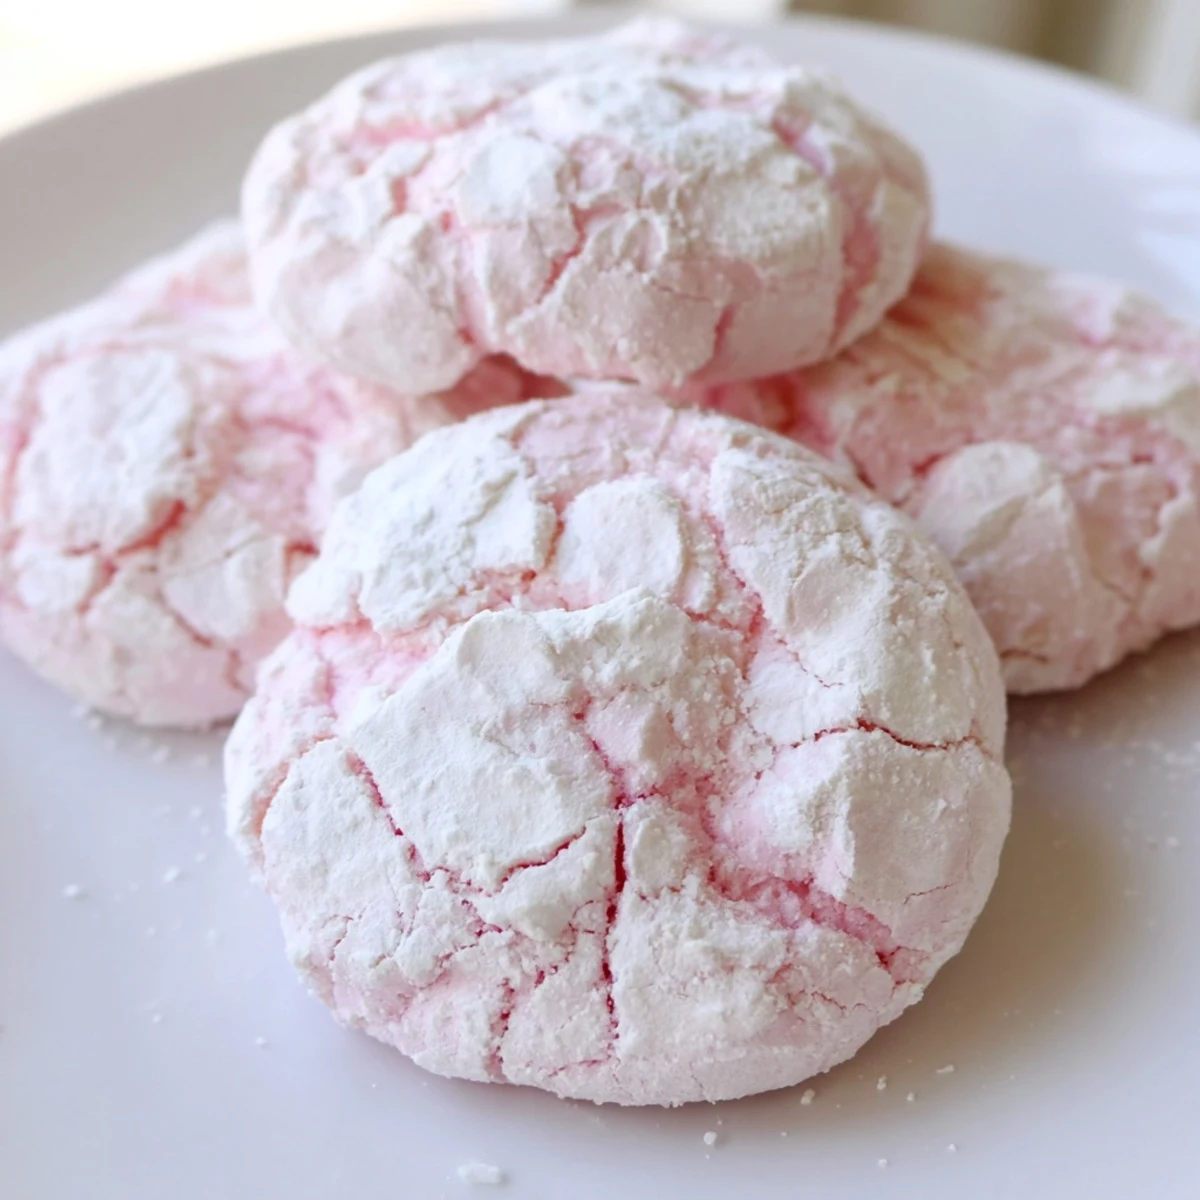
 After that first birthday party my daughter requested these cookies for every single celebration. Easter Halloween even the last day of school. Theres something about pulling a tray of crackled rainbow cookies out of the oven that makes any ordinary Tuesday feel like a special occasion worth celebrating.
Getting the Perfect Pastels
I've learned that gel food coloring is absolutely non-negotiable here. Regular liquid coloring will throw off your dough consistency and you'll end up with flat cookies instead of puffy ones. Start with the smallest amount possible then add more drop by drop. You can always add more color but you cant take it back.
Making Crackles Actually Happen
The secret to those beautiful cracks is making sure your dough balls are completely coated in powdered sugar before baking. I mean really coated like you're rolling them in snow. If you can still see dough color through the sugar the crackles won't be as dramatic. Also don't overbake them the centers need to stay soft.
Storage and Freshness Tips
These cookies actually taste better on day two because the flavors have time to meld together. Store them in an airtight container with a piece of bread to keep them extra soft. The bread might seem strange but it works by releasing moisture that keeps the cookies from drying out.
- Try lemon extract instead of vanilla for a bright spring version
- Roll some dough balls in sprinkles instead of powdered sugar for birthday parties
- Freeze uncoated dough balls for up to 3 months then thaw and bake
 Save to Pinterest
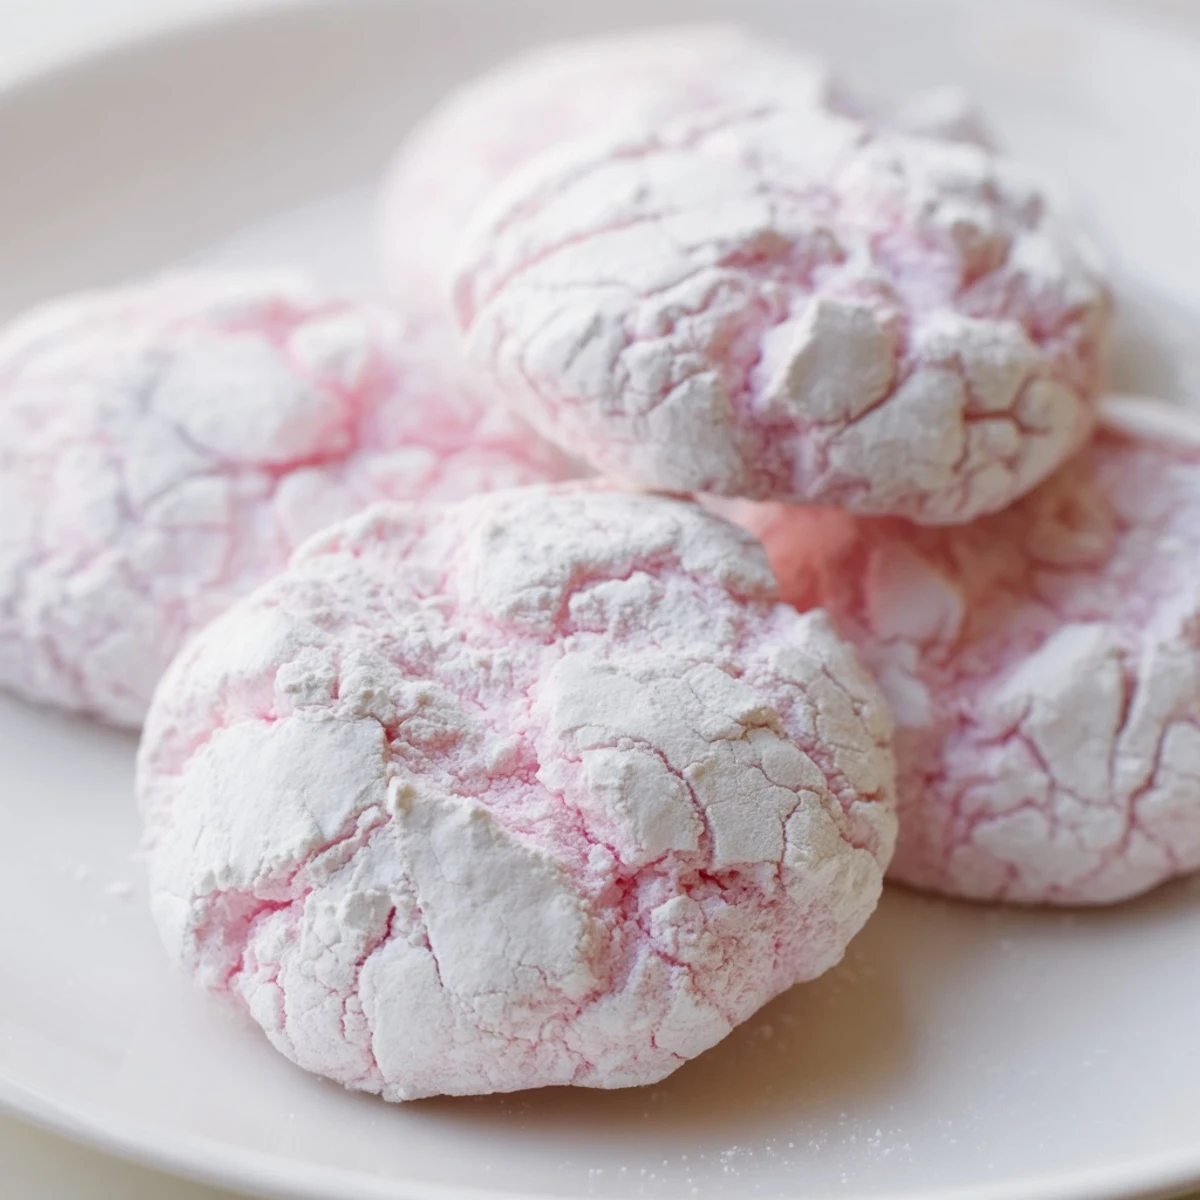
 There's something so joyful about a plate of rainbow cookies on the counter. I hope these bring a little extra color and happiness to your kitchen too.
Questions & Answers
- → Why do these cookies crackle when baked?
-
The crackled effect happens because the powdered sugar coating creates a dry exterior. As the butter-rich dough expands in the oven, it pushes through the sugar layer, forming distinctive cracks and crevices while the center remains soft and chewy.
- → Can I use liquid food coloring instead of gel?
-
Gel food coloring works best because it provides vibrant color without adding excess liquid to the dough. Liquid coloring can make the dough too sticky and affect the texture. If using liquid, add just a drop at a time and compensate by reducing the milk slightly.
- → How do I know when the cookies are done baking?
-
The cookies are ready when the edges appear set and the tops show distinct crackling, but the centers still feel slightly soft to the touch. They will continue cooking on the hot baking sheet during the 5-minute cooling period, so remove them before they look completely firm.
- → Can I make the dough ahead of time?
-
Yes, you can prepare and color the dough up to 24 hours in advance. Wrap each colored portion tightly in plastic wrap and refrigerate. Let the dough sit at room temperature for about 15 minutes before scooping and rolling in powdered sugar, as cold dough may not crackle as dramatically.
- → What other flavors can I add to the dough?
-
While vanilla is classic, you can substitute almond extract for a nutty dimension or add fresh lemon zest and juice for a bright citrus version. Lemon works particularly well with the pastel colors and adds a refreshing note that balances the sweetness.
- → Why is chilling the dough sometimes necessary?
-
If the dough feels too soft or sticky after adding coloring, chilling for 20 minutes helps firm it up for easier rolling. Chilled dough also holds its shape better during baking and produces more defined cracks. However, don't chill too long or the dough may become too firm to scoop easily.