 Save to Pinterest
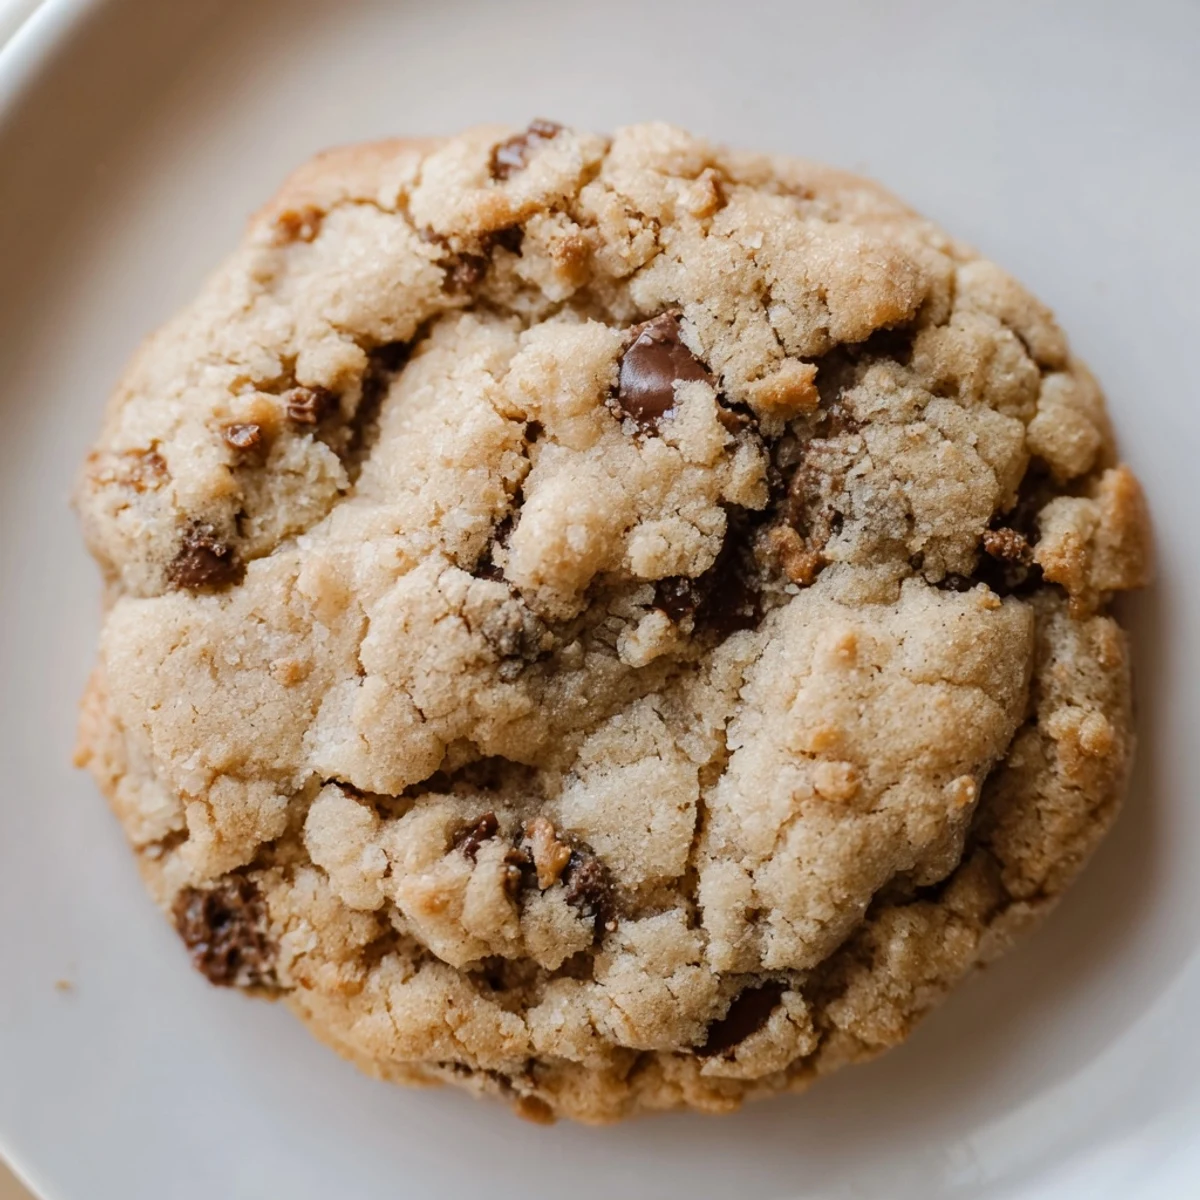
 These soft and chewy chocolate chip cookies deliver the classic homemade taste you crave without any nuts. Made with simple pantry ingredients, they're perfect for school lunches, office treats, or anytime snacking when you need allergy-friendly options. The dough comes together quickly with just 15 minutes of prep, and a short bake time yields perfectly golden edges with soft, tender centers.
The smell of butter and sugar creaming together still takes me back to my first apartment, where the tiny kitchen had barely enough counter space for a mixing bowl. I baked these cookies for a neighbor who mentioned her son\'s nut allergy, and watching his face light up when I said he could eat every single one changed how I thought about allergy-friendly baking. Good food should include everyone, period.
Last Christmas, I made six batches for our annual cookie exchange, and they disappeared first. My friend Sarah, who usually skips dessert due to allergies, took three home and texted me the next day asking for the recipe. Thats when I knew these werent just good for nut-free baking they were just plain good.
Ingredients
- All-purpose flour: The backbone of the cookie, providing structure while keeping things tender
- Baking soda: Gives the cookies their slight rise and helps create those irresistibly chewy centers
- Salt: Just enough to balance sweetness and make the chocolate flavor pop
- Unsalted butter: Softened to room temperature so it creams properly into the sugars
- Granulated and light brown sugar: The combo creates crispy edges and soft, molasses-kissed middles
- Large eggs: Bind everything together and add richness to the dough
- Pure vanilla extract: Dont skimp here because real vanilla makes all the difference
- Nut-free semi-sweet chocolate chips: Check labels carefully because cross-contamination is real
Instructions
- Preheat and prep:
- Heat your oven to 350°F and line two baking sheets with parchment paper, which prevents sticking and makes cleanup effortless
- Mix the dry goods:
- Whisk the flour, baking soda, and salt in a medium bowl until combined, then set it aside
- Cream the butter and sugars:
- Beat the softened butter with both sugars for 2-3 minutes until the mixture turns pale and fluffy
- Add eggs and vanilla:
- Beat in the eggs one at a time, then mix in the vanilla until fully incorporated
- Combine everything:
- Gradually add the dry ingredients to the wet mixture, mixing until just combined because overmixing makes tough cookies
- Fold in the chocolate:
- Stir in the chocolate chips by hand with a spatula to ensure even distribution throughout the dough
- Scoop and space:
- Drop rounded tablespoons of dough onto the prepared sheets, leaving about 2 inches between each cookie
- Bake to perfection:
- Bake for 9-11 minutes until edges are golden brown but centers still look slightly underdone
- Cool completely:
- Let the cookies rest on the baking sheets for 5 minutes before moving them to a wire rack
 Save to Pinterest
 These cookies have become my go-to for school bake sales and potlucks because I never have to worry about who can eat them. Watching kids with allergies grab a cookie from the plate without hesitation makes every batch worth it.
Getting the Texture Right
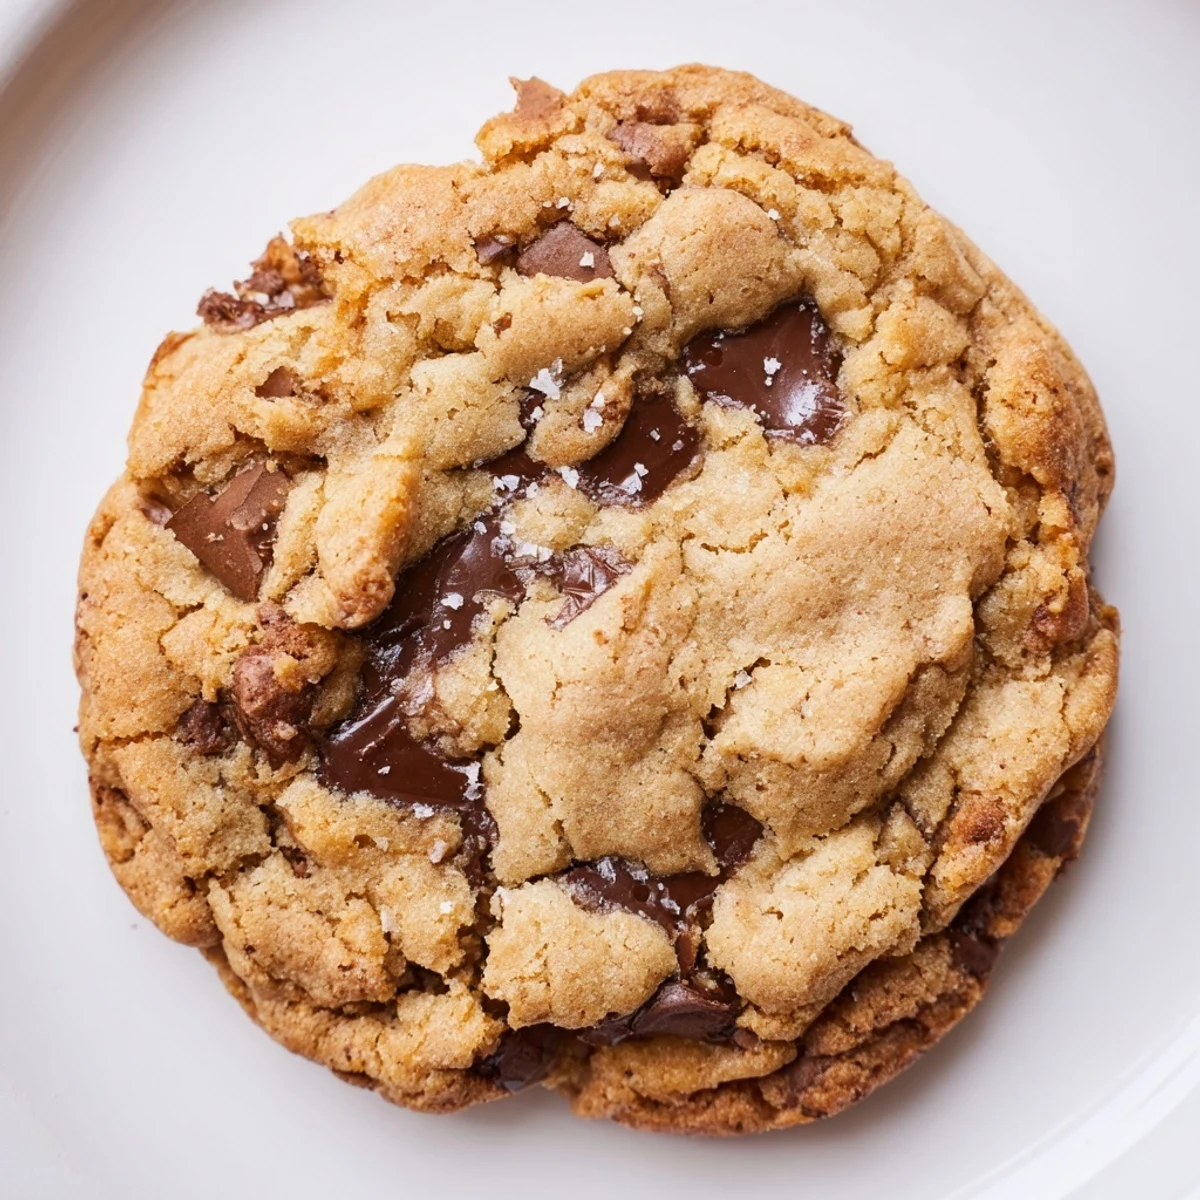
The secret to that bakery-style chew is pulling the cookies out when the centers still look soft and underbaked. They continue cooking on the hot baking sheet, firming up into that perfect texture that bends but doesnt break. I learned this the hard way after leaving one batch in too long and ending up with crispy discs.
Making Them Your Own
While the classic chocolate chip version is hard to beat, you can swap the chips for nut-free white chocolate, dried cranberries, or even crushed pretzels for a salty-sweet twist. Just keep the total add-in amount around 2 cups so the cookie structure stays intact. My personal favorite is half chocolate chips and half dried cherries.
Storing and Freezing
Fresh cookies are obviously best, but these keep remarkably well in an airtight container for up to five days. If you want to always have dough ready, scoop the balls onto a baking sheet, freeze until solid, then transfer to a freezer bag for up to three months. Bake from frozen, adding 1-2 minutes to the time.
- Place a slice of white bread in the container with baked cookies to keep them soft longer
- Room temperature dough spreads more than chilled dough, so adjust accordingly
- Never store cookies while theyre still warm or condensation will make them soggy
 Save to Pinterest
 Theres something deeply satisfying about watching someone bite into a cookie they thought they couldnt have. These prove that allergy-friendly baking never means sacrificing joy.
Questions & Answers
- → Are these cookies completely nut-free?
-
Yes, these cookies contain no nuts or nut-derived ingredients. Always verify your chocolate chips and other ingredients are certified nut-free to avoid cross-contamination.
- → How do I make the cookies extra chewy?
-
Chill the dough for 30 minutes before baking. This helps prevent spreading and creates a denser, chewier texture.
- → Can I freeze the dough?
-
Absolutely. Scoop the dough into balls, freeze on a baking sheet, then transfer to a freezer bag. Bake from frozen, adding 1-2 minutes to the baking time.
- → What chocolate chips work best?
-
Look for certified nut-free semi-sweet chocolate chips. Some brands explicitly test for cross-contamination, which is important for severe allergies.
- → How should I store these cookies?
-
Keep in an airtight container at room temperature for up to 5 days. For longer storage, freeze baked cookies for up to 3 months.
- → Can I substitute the chocolate chips?
-
Try nut-free white chocolate chips, dried fruit like cranberries or raisins, or allergy-friendly candy pieces for variety.