
 Save to Pinterest
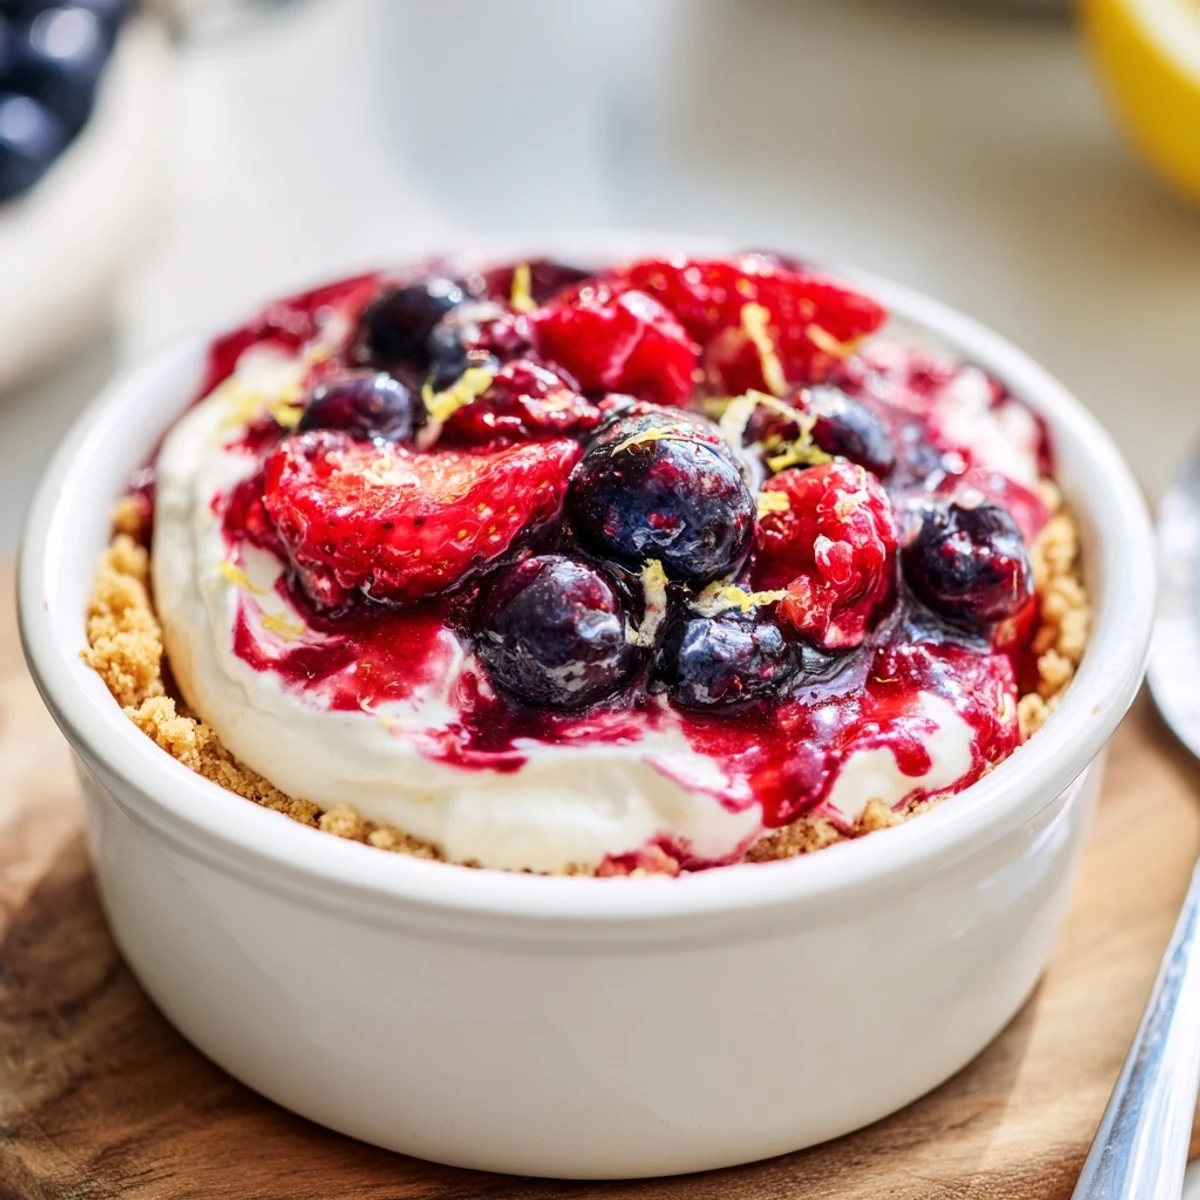
 Quick no-bake cheesecakes assemble in layers: a crushed biscuit base pressed into individual glasses, a smooth cream cheese filling folded with whipped cream, and a lightly macerated berry topping. Chill at least 3 hours to set. Swap gluten-free biscuits for a GF version, add lemon zest for brightness, or a splash of liqueur to the berries. Serve well chilled.
The first time I put together these berry no bake cheesecakes, I was lured by the promise of minimal mess and zero oven heat on a summer afternoon. Something about assembling the layers directly into glasses felt playful—almost like making parfaits at a sleepover, but just a little more grown up. I still remember wiping berry-stained fingers on a tea towel between scoops, laughing at how quickly everything came together. This dessert never fails to surprise me with how effortlessly festive it looks, even when you‘re just throwing it together for a Tuesday treat.
I once served this dessert at a book club meeting—one friend called it dangerously easy, another insisted on scraping out every last bit. The clink of spoons and happy hum of conversation told me this would be a regular request for gatherings. Now, even on quieter evenings, I find myself remembering that animated table whenever I start crushing biscuits for the base.
Ingredients
- Graham crackers or digestive biscuits: Crushing these by hand always reminds me of childhood, but a quick food processor blitz saves time and keeps crumbs even.
- Unsalted butter: Make sure it‘s fully melted and still warm so it coats the crumbs evenly—any cold lumps and the base won‘t set right.
- Cream cheese: Letting it soften first saves your arm when mixing and ensures the filling is silky and lump free.
- Heavy cream: Whip it cold and use right away for that cloud-like texture that lifts the cheesecake filling.
- Powdered sugar: It dissolves effortlessly, giving just the right sweetness without any graininess.
- Vanilla extract: A splash turns the filling from plain to luxurious, so don‘t skip it.
- Lemon zest (optional): That hint of citrus is a bright contrast you appreciate most when you take the first bite.
- Mixed fresh berries: Go with whatever‘s most fragrant or ripe at the market—the juicier the berry, the prettier the finish.
- Sugar (for berries): Just enough to coax out the juices and balance any tartness.
- Lemon juice: It heightens the berries‘ flavors and gives the topping a lively edge.
Instructions
- Make the biscuit base:
- Combine the crushed biscuits with melted butter in a bowl and stir until every crumb glistens. Scoop into glasses, press down gently, and see that you have a tidy, even layer before moving on.
- Mix the cheesecake filling:
- Beat the softened cream cheese until creamy, then fold in the powdered sugar, vanilla, and lemon zest if you like. In another bowl, whip the cold cream until soft peaks form, then gently blend into the cream cheese mix until just smooth and united.
- Layer the cheesecakes:
- Spoon or pipe the filling over your biscuit base, smoothing tops with a spatula or even your finger if no one‘s looking.
- Toss the berry topping:
- Stir together the fresh berries, sugar, and lemon juice, letting it all meld for about 10 minutes until the fruit releases its juices.
- Finish and chill:
- Crown each cheesecake with the berry mixture, cover, and refrigerate for at least three hours—overnight is even better if you can resist.
 Save to Pinterest
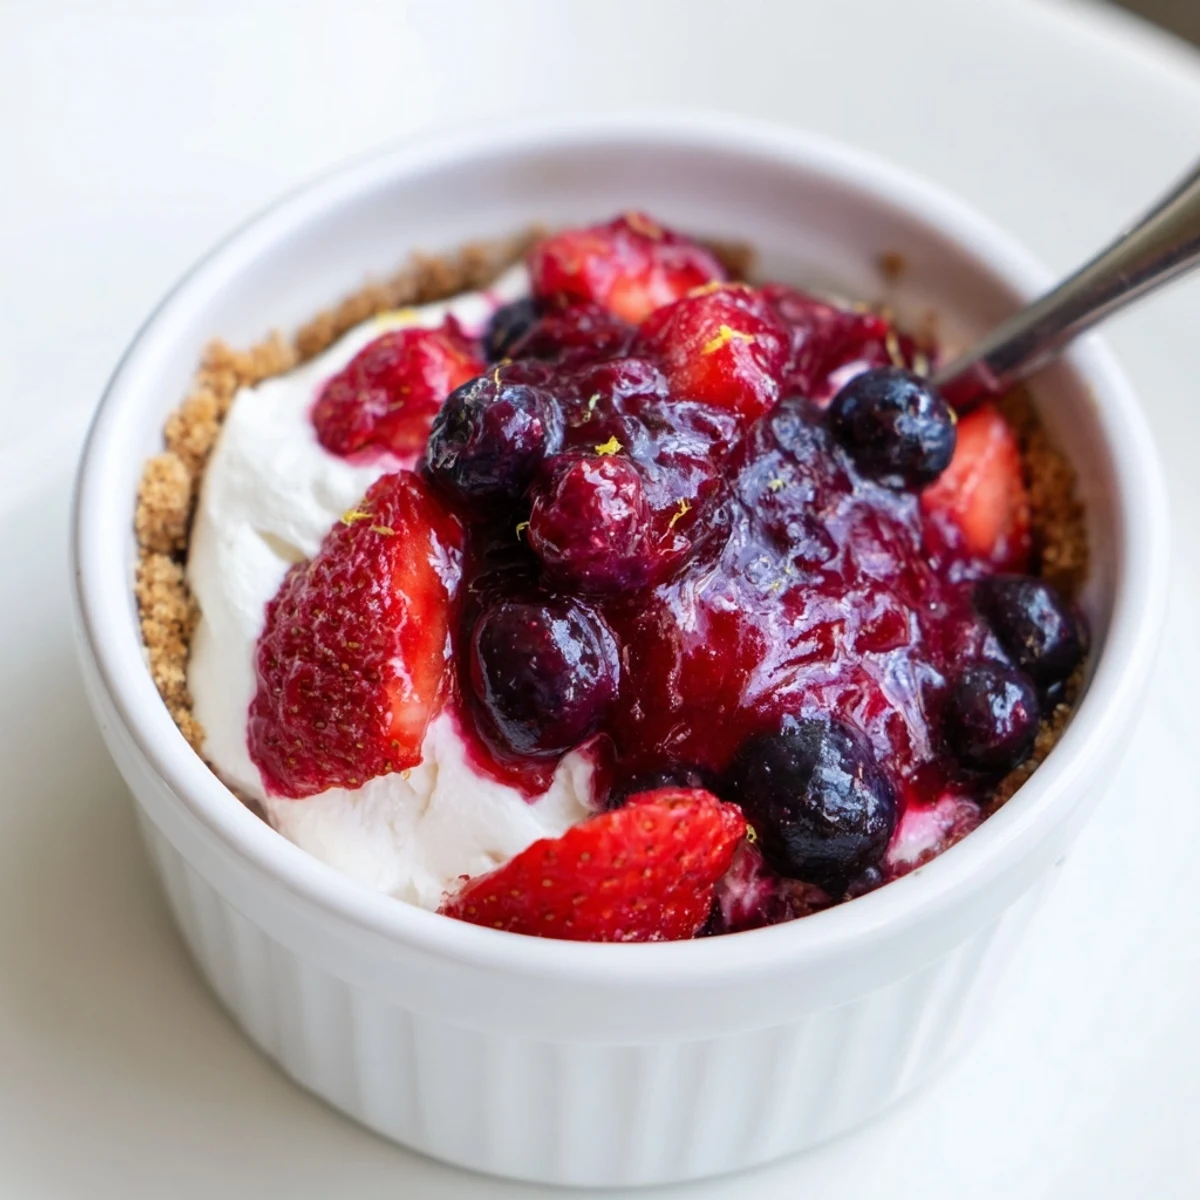
 The most tender moment was honestly the first time my partner quietly asked if there were leftovers after everyone left. Watching them sneak back for seconds made me realize how even the simplest desserts can become someone‘s favorite comfort.
Swapping Berries and Making It Your Own
Sometimes I use blackberries or cherries instead and every batch feels a little different and seasonal. The compote base happily welcomes whatever fruit you have, and I‘ve even snuck a spoonful or two of leftover jam in when berries are scarce.
How To Serve With Flair
Individual glasses always win points for presentation. For extra style, I like to layer the biscuit base, cheesecake, and berries in clear jars so everyone sees every stripe before diving in.
Fast Fixes and Last Minute Tweaks
Since these require fridge time, I‘ve learned to whip them up the night before a party to keep the morning relaxed.
- If berries look a little sad, a drizzle of berry liqueur livens them up fast.
- Biscuit base crumbly? Press it down with the bottom of a glass for perfect layers.
- Remember to chill long enough so the filling will hold its shape when serving.
 Save to Pinterest
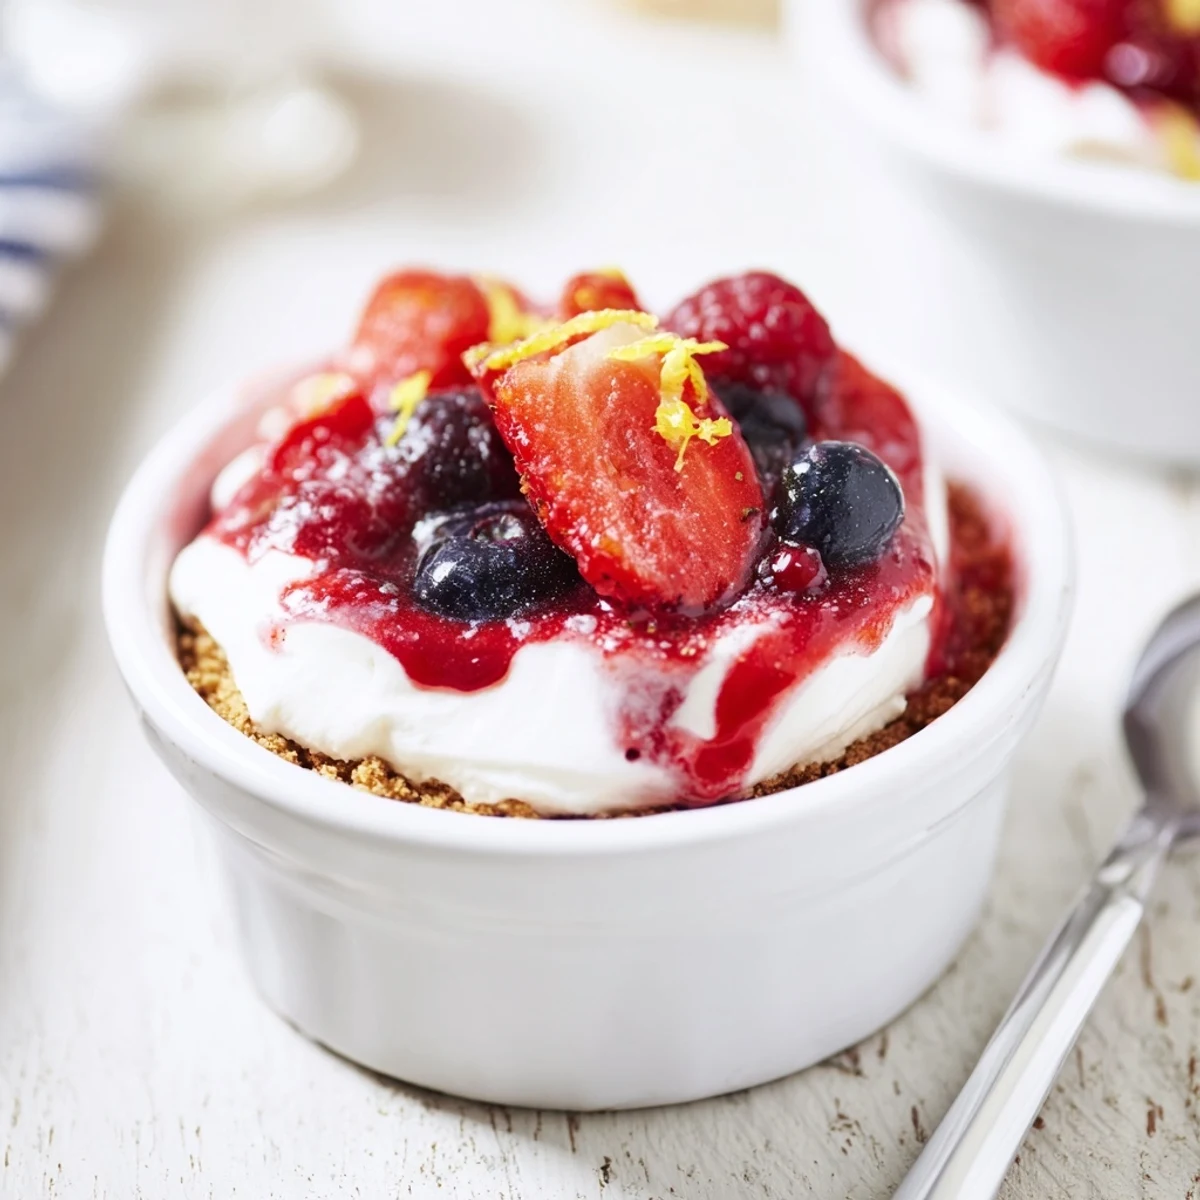
 This cheesecake is proof that dessert can be easy, joyful, and downright beautiful with just a little time and a handful of good ingredients. Enjoy every layered spoonful—and the smiles that come with it.
Questions & Answers
- → How long should I chill these before serving?
-
Chill for a minimum of 3 hours to allow the filling to firm up; overnight is best for a denser, sliceable texture and improved flavor melding.
- → How do I keep the biscuit base crisp?
-
Crush the biscuits finely and mix with enough melted butter to bind. Press firmly into the glass or tin and chill before adding the filling to help the base hold its shape and stay crisp longer.
- → Can I use frozen berries for the topping?
-
Yes—thaw and drain excess liquid, then toss with sugar and a splash of lemon. If very watery, simmer briefly to reduce and concentrate the juices before topping.
- → How do I avoid a grainy filling?
-
Ensure the cream cheese is fully softened and beat until smooth before adding sugar and flavorings. Fold in whipped cream gently to retain an airy, silky texture without overworking the mixture.
- → Any tips for dietary substitutions?
-
Use gluten-free biscuits to remove gluten; swap cream cheese for a plant-based alternative and use chilled coconut cream whipped to stiff peaks for a dairy-free version—texture will vary slightly.
- → What are simple serving suggestions?
-
Garnish with extra fresh berries, lemon zest, or a sprig of mint. A drizzle of berry coulis or a dusting of powdered sugar adds polish; pairs nicely with sparkling wine or a sweet white.