 Save to Pinterest
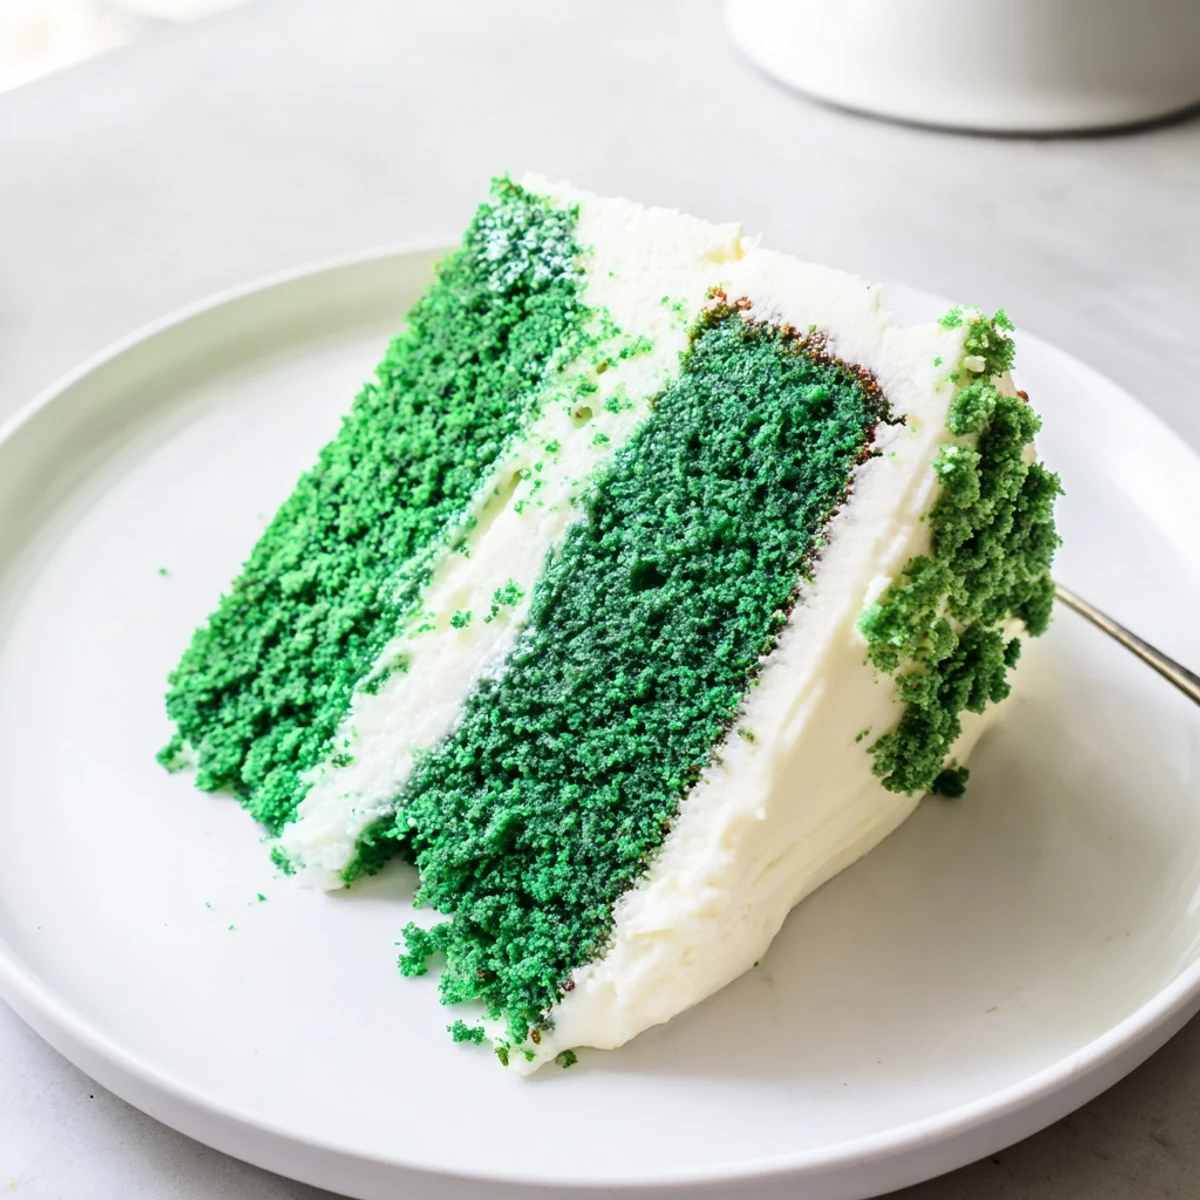
 This stunning emerald dessert delivers a twist on the classic red velvet with vibrant green color and subtle cocoa undertones. The tender crumb pairs perfectly with tangy cream cheese frosting, creating an irresistible combination ideal for St. Patrick's Day or any festive gathering. Each slice offers 435 calories of pure indulgence.
The first time I brought this electric green cake to a St. Patrick's Day potluck, my coworker actually asked if I'd dyed it with spinach. That startling emerald crumb stops conversations dead—the kind of dessert that makes people lean in closer, half suspicious and entirely delighted.
My sister-in-law requested this for her birthday instead of her usual chocolate cake, and honestly? Watching people's faces when they slice into something that looks like it belongs in a fairy tale is pure joy. The cake itself is tender, moist, and unexpectedly sophisticated.
Ingredients
- All-purpose flour: The backbone that holds everything together—don't pack it down when measuring
- Unsweetened cocoa powder: Just enough for depth without overpowering that signature green
- Baking soda: Gives the cake its signature velvet-like lift and tenderness
- Salt: A pinch wakes up all the flavors and balances the sweetness
- Granulated sugar: Sweetens and creates that tender, velvety texture we're after
- Vegetable oil: Keeps the cake incredibly moist for days—better than butter here
- Eggs: Room temperature eggs blend more smoothly into the batter
- Buttermilk: The acid activates the baking soda and adds subtle tang
- Vanilla extract: Pure vanilla makes all the difference in the frosting and cake
- White vinegar: Reacts with baking soda for extra lift and tenderness
- Green gel food coloring: Gel is more concentrated than liquid—start with one tablespoon
- Cream cheese: Make sure it's properly softened for lump-free frosting
- Unsalted butter: Room temperature butter incorporates smoothly into the frosting
- Powdered sugar: Sifting prevents lumps and ensures silky frosting
Instructions
- Get your oven ready:
- Preheat to 350°F and grease two 9-inch pans—parchment rounds are your insurance policy against sticking
- Mix the dry team:
- Whisk flour, cocoa, baking soda, and salt in a medium bowl until everything is evenly distributed
- Start the wet mixture:
- Beat sugar and oil until combined, then add eggs one at a time, letting each disappear completely
- Build that green magic:
- Stir in buttermilk, vanilla, vinegar, and green gel coloring—keep whisking until you've got an even, shocking emerald
- Bring it together:
- Add dry ingredients in two batches, mixing just until you don't see streaks—overmixing toughens the crumb
- Divide and bake:
- Split batter evenly between pans and bake 28–32 minutes, until a toothpick in the center comes out clean
- Cool with patience:
- Let cakes rest in pans 10 minutes before turning them onto racks—completely cool cakes prevent frosting meltdowns
- Make the frosting:
- Beat cream cheese and butter until absolutely smooth, then add powdered sugar, vanilla, and salt until fluffy
- Assemble your masterpiece:
- Frost between layers, then coat the entire cake—decorate with sprinkles or reserved cake crumbs if you're feeling fancy
 Save to Pinterest
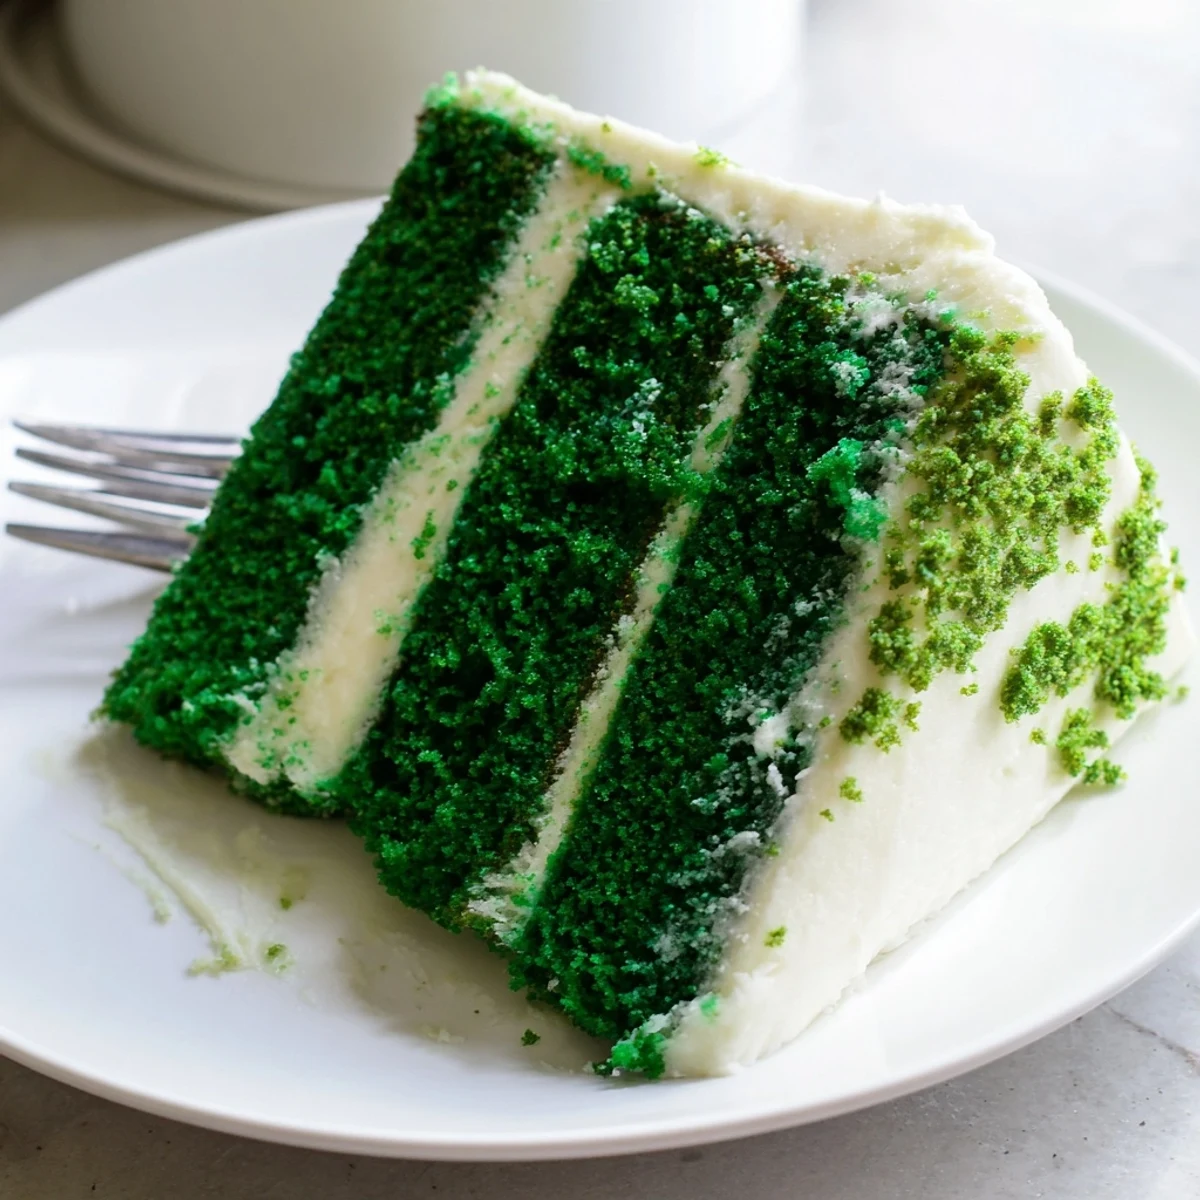
 Last March, my daughter helped me make this and got green food coloring everywhere—her hands, my apron, somehow the ceiling. We laughed until we cried while frosting it together, and that slightly messy, perfectly green cake became the highlight of our family celebration.
Making The Green Your Own
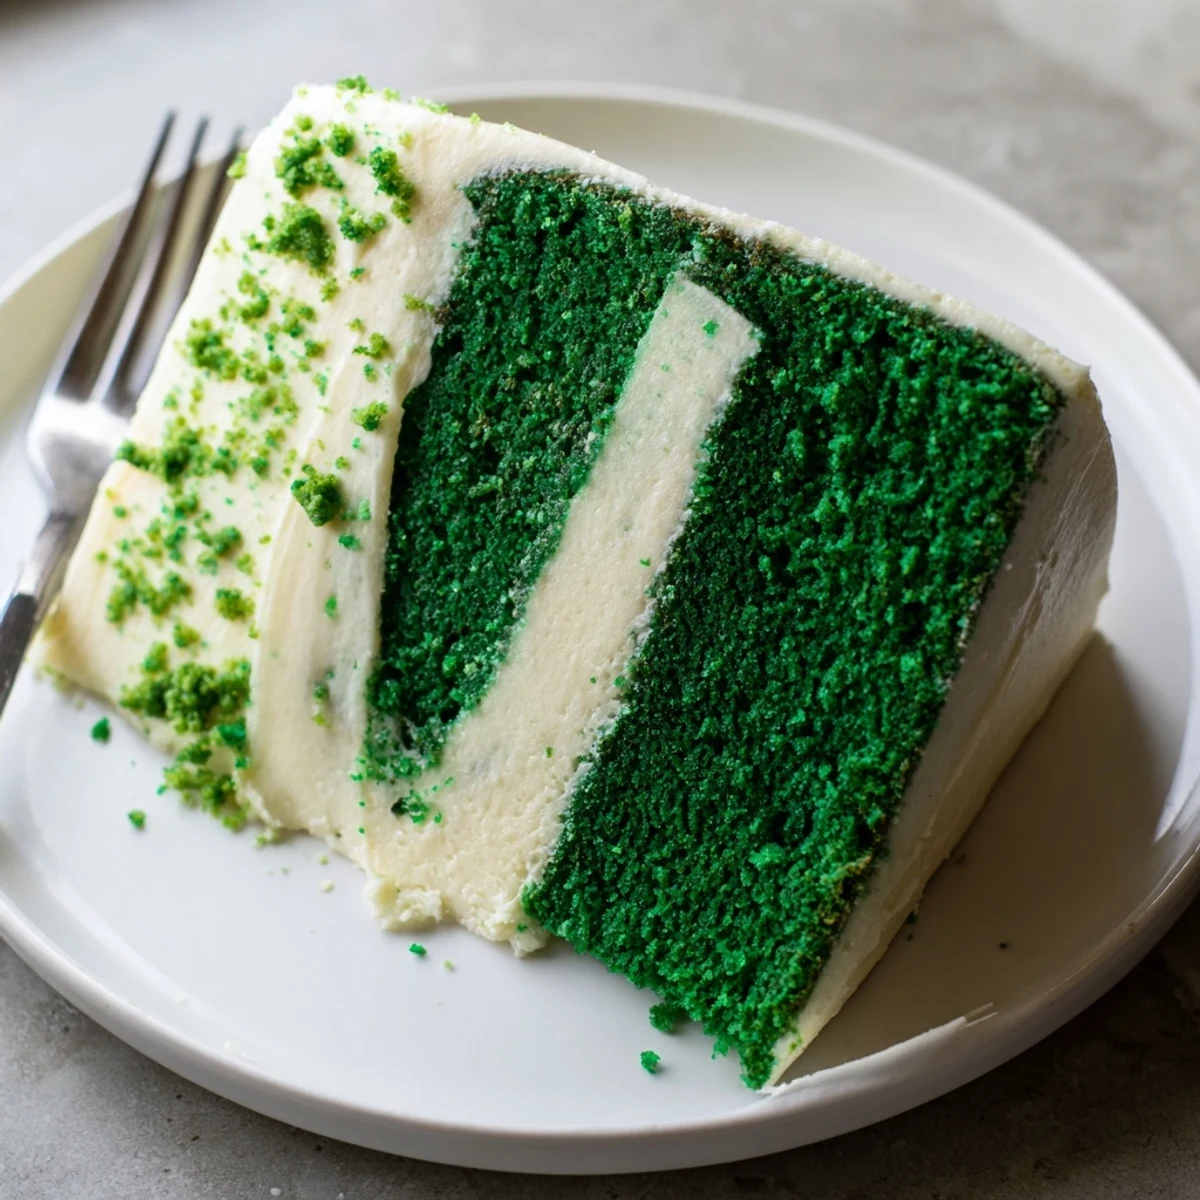
I've learned that the shade of green matters more than I'd expected. Too pale and it looks minty—too dark and it feels artificial. That perfect emerald sweet spot takes some experimentation, and I always keep extra gel coloring handy for final adjustments.
Serving Suggestions
This cake needs something to cut through that rich cream cheese frosting. I've found green tea works surprisingly well, and a chilled Moscato balances the sweetness beautifully. The contrast makes each bite feel more special.
Storage And Make-Ahead Magic
The cake layers actually improve after resting overnight wrapped tightly in plastic—something about the flavors melding. Just frost the same day you're serving, and store any leftovers in the refrigerator.
- Unfrosted layers freeze beautifully for up to three months
- Bring refrigerated cake to room temperature 30 minutes before serving
- Cream cheese frosting firms up when chilled—plan accordingly for slicing
 Save to Pinterest
 There's something almost rebellious about serving a cake this color, and watching people's faces light up when they realize it actually tastes incredible. That's the kind of kitchen memory worth repeating.
Questions & Answers
- → What makes the green color so vibrant?
-
Green gel food coloring delivers the most intense emerald hue. Liquid coloring can dilute the batter, while gel provides concentrated color without affecting the texture or moisture content of the layers.
- → Can I make this ahead of time?
-
Yes! The unfrosted layers can be wrapped tightly and stored at room temperature for one day or frozen for up to three months. Thaw frozen layers overnight before frosting and serving.
- → What's the best way to substitute buttermilk?
-
Mix one cup of whole milk with one tablespoon of white vinegar. Let the mixture sit at room temperature for five minutes until it thickens and curdles slightly, creating the perfect acidic component for tender results.
- → How do I know when the layers are done baking?
-
Insert a toothpick into the center of each layer. If it comes out clean or with just a few moist crumbs, the layers are ready. The edges should pull slightly away from the pan sides, and the tops should spring back when touched.
- → Can I use natural food coloring?
-
Matcha powder or spinach juice can provide green tint, though the result will be more subtle than gel coloring. For the deep emerald shade shown, concentrated gel coloring remains the most effective option.
- → What's the secret to smooth cream cheese frosting?
-
Ensure both cream cheese and butter are completely softened to room temperature before beating. Sift the powdered sugar to prevent lumps, and whip the mixture for several minutes until light and fluffy for effortless spreading.