
 Save to Pinterest
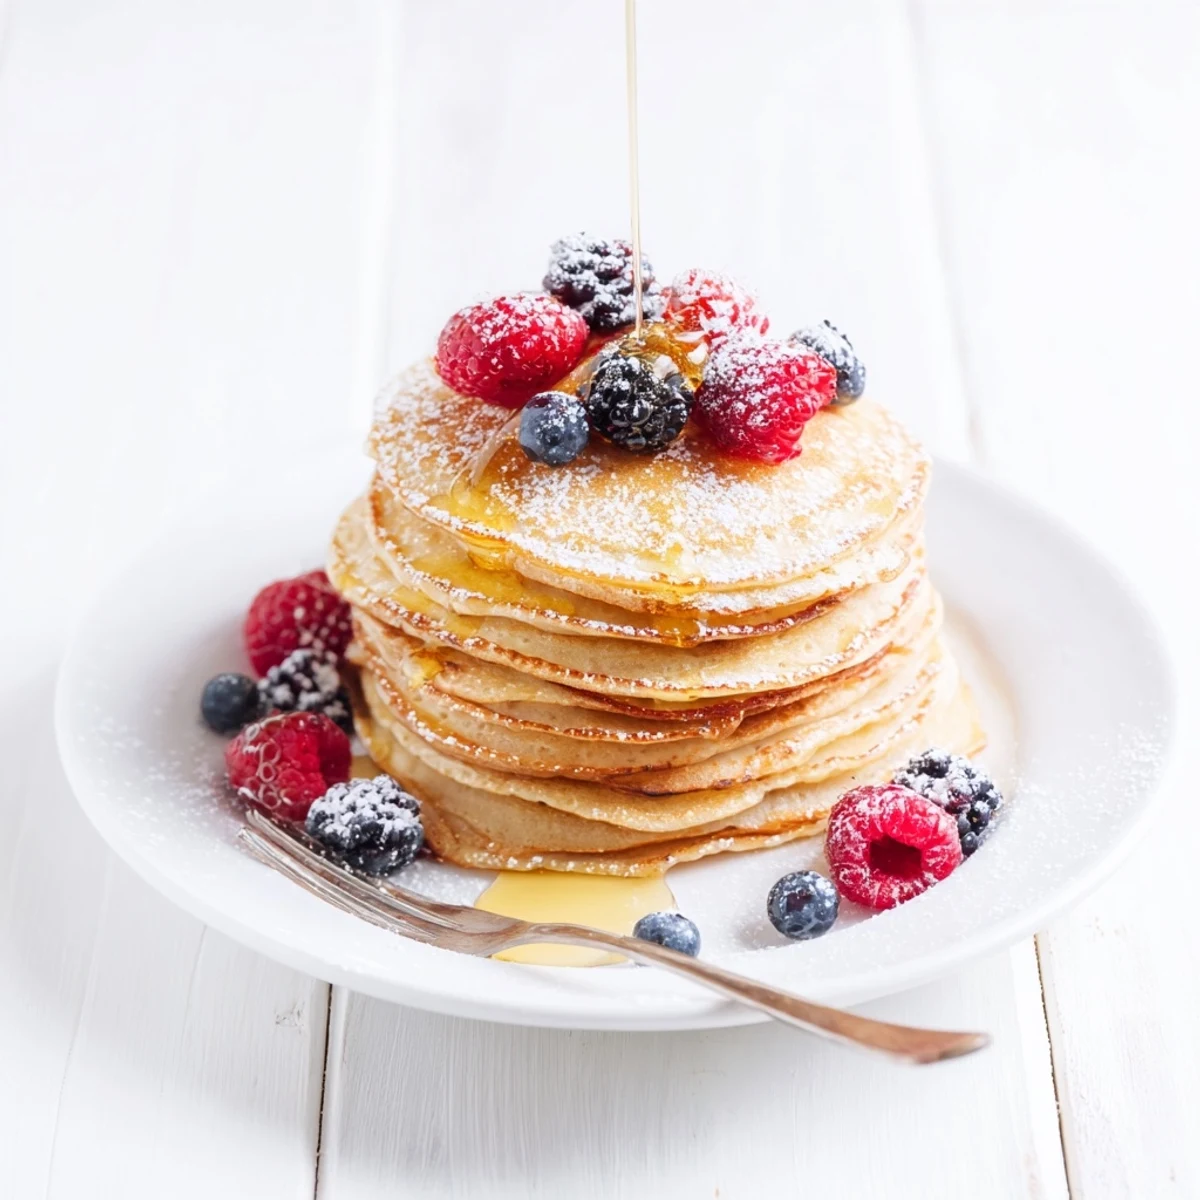
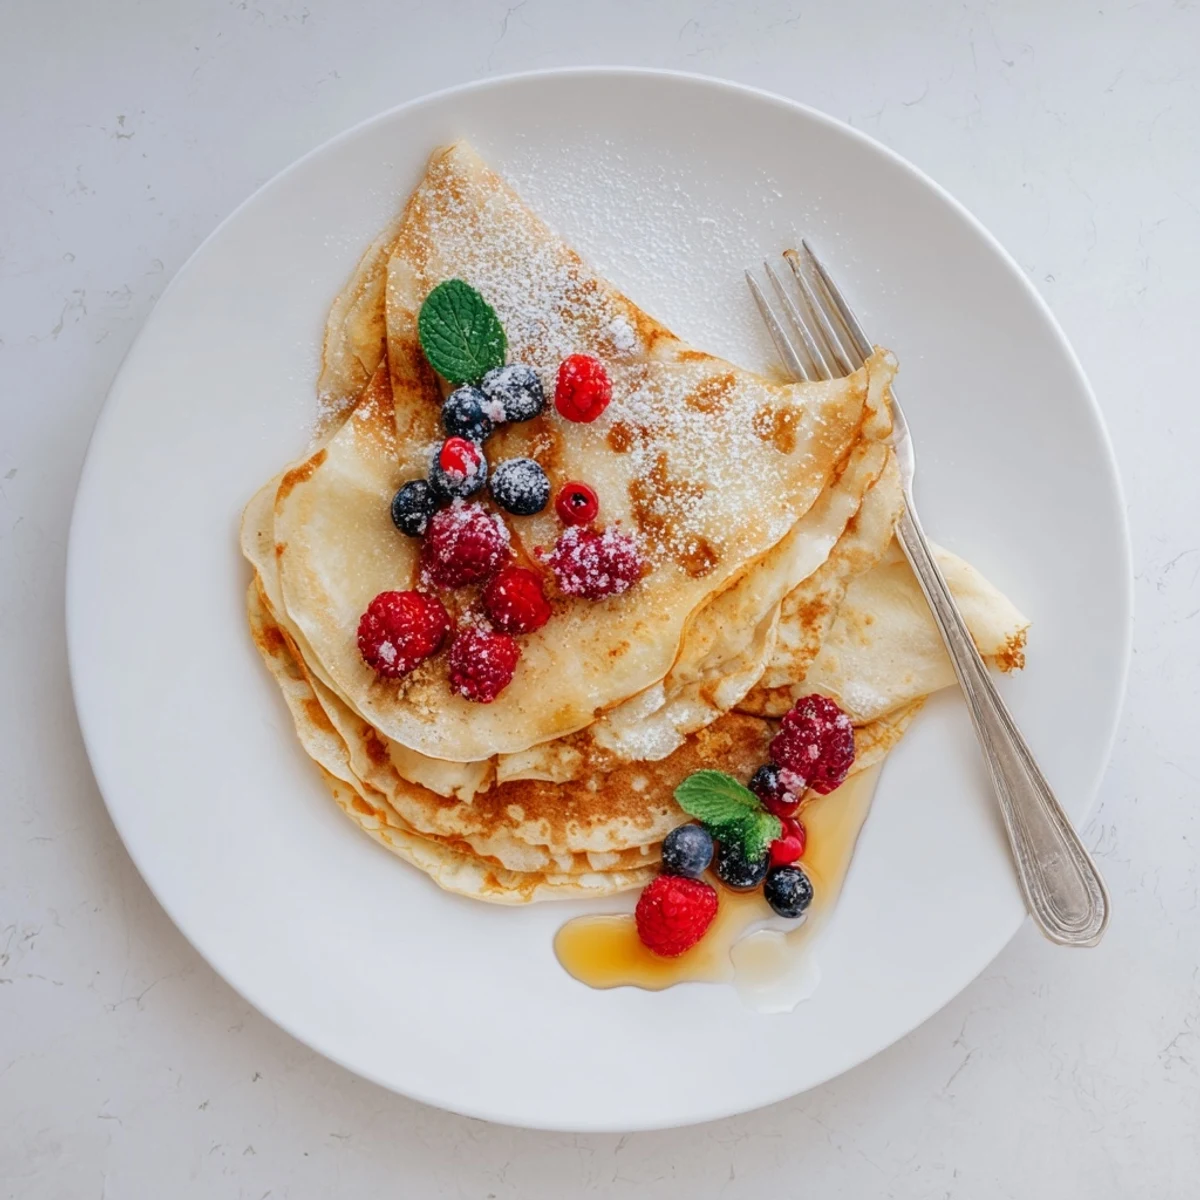
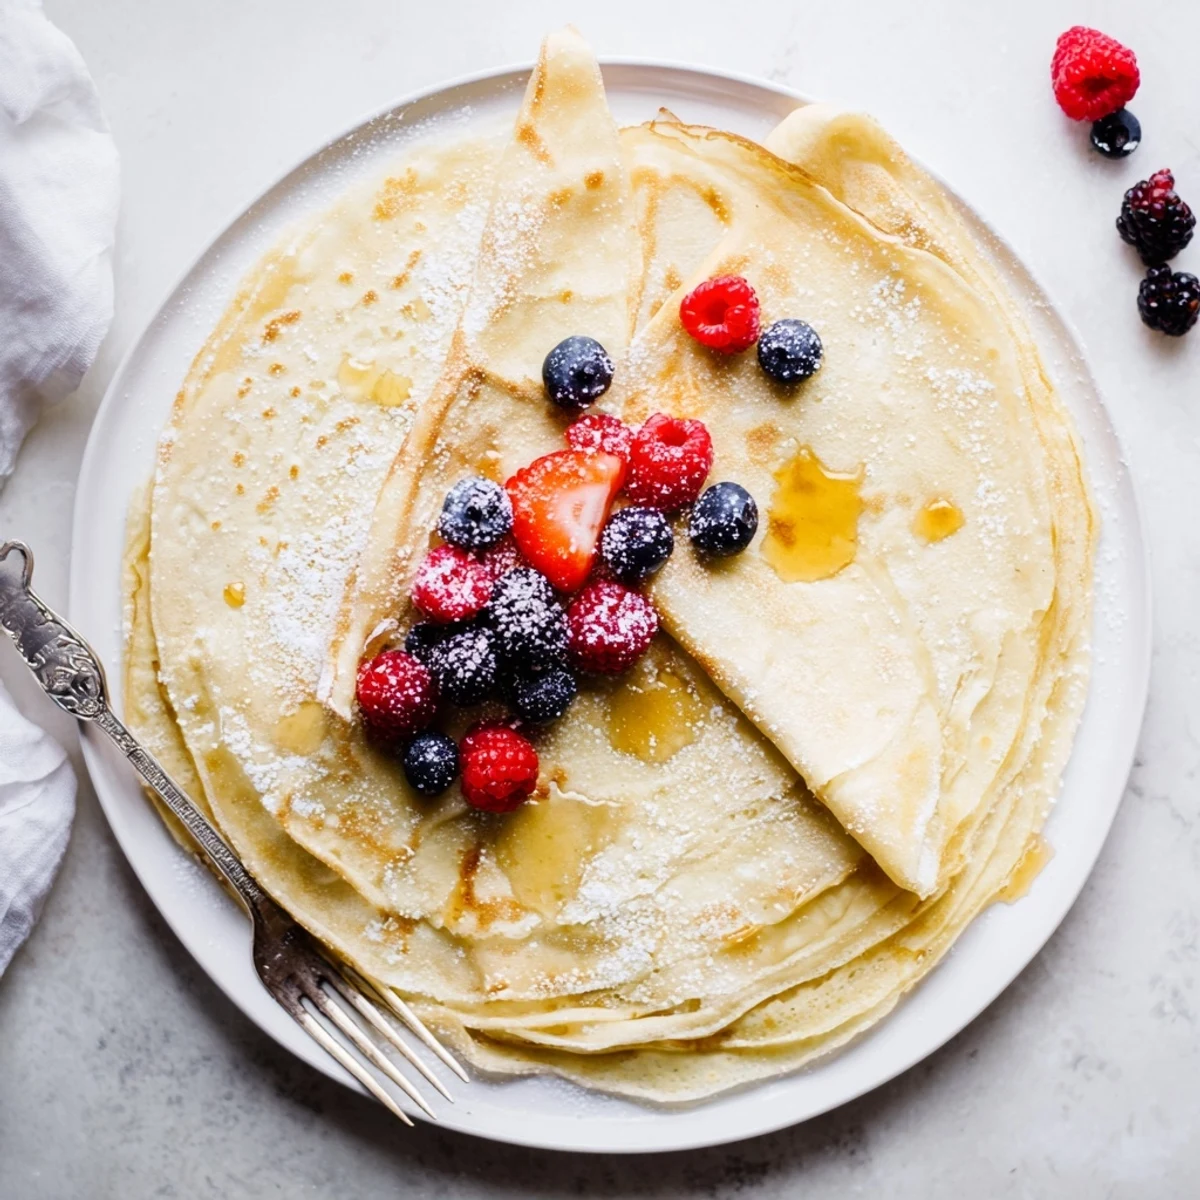
 Create delicate, paper-thin French crepes with just 10 minutes of prep time. The batter comes together quickly with pantry staples like flour, eggs, milk, and butter, then rests while you heat your pan. Each crepe cooks to golden perfection in under two minutes on a nonstick skillet. Serve them warm immediately after cooking, stacking them high and finishing with generous drizzles of pure honey that soak into the tender layers. Fresh berries and a light dusting of powdered sugar make beautiful optional garnishes. This classic preparation yields 8-10 crepes, plenty for breakfast, brunch, or an elegant dessert.
The Sunday morning my grandmother taught me to make crêpes remains one of my favorite kitchen memories. She stood by the stove with her floral apron dusted in flour, insisting the secret was patience and a rested batter. I burned the first three attempts trying to flip too soon, while she laughed and said even the mistakes taste delicious with honey.
Last summer I made these for my daughters sleepover party, and four teenage girls stood around the stove taking turns flipping crepes. They each created their own combinations with berries, honey, and powdered sugar, leaving a kitchen covered in flour but full of laughter.
Ingredients
- All-purpose flour: Forms the tender structure of the crepe, and sifting it first prevents lumps in your batter
- Large eggs: Essential for binding the batter and creating that signature delicate texture
- Milk: Whole milk yields the richest flavor, though any variety works in a pinch
- Unsalted butter: Melted butter keeps the crepes tender and adds a lovely subtle richness
- Granulated sugar: Just enough to balance the flavors without making these overly sweet
- Salt: A small amount enhances all the other flavors and prevents the crepes from tasting flat
- Vanilla extract: Pure vanilla adds a beautiful aromatic note that pairs perfectly with honey
- Honey: The star finishing touch, drizzled warm over the stacked crepes
- Fresh berries: Strawberries, raspberries, or blueberries add freshness and color contrast
Instructions
- Mix the dry base:
- Whisk together the flour, sugar, and salt in a large mixing bowl until thoroughly combined
- Combine the wet ingredients:
- Beat the eggs in a separate bowl, then gradually whisk in the milk and vanilla extract until smooth
- Make the batter:
- Pour the wet ingredients into the dry ingredients while whisking constantly, then stir in the melted butter until no lumps remain
- Let it rest:
- Allow the batter to sit at room temperature for at least 15 minutes, which relaxes the gluten for tender crepes
- Heat your pan:
- Warm a nonstick skillet over medium heat and lightly brush the surface with melted butter
- Swirl and spread:
- Pour about 1/4 cup batter into the pan, immediately tilting and swirling to coat the bottom in a thin, even layer
- Wait for the edges:
- Cook for 1 to 2 minutes until the edges begin to curl away from the pan and the bottom is golden brown
- Flip briefly:
- Gently flip the crepe and cook for just 30 seconds more until set, then transfer to a warm plate
- Repeat and stack:
- Continue with remaining batter, stacking the finished crepes and keeping them warm under a clean kitchen towel
- Finish with honey:
- Generously drizzle warm honey over the stacked crepes and add fresh berries and powdered sugar if you like
 Save to Pinterest
 My friend Sophie makes these every Valentine Day for her family, and her children insist on heart shaped strawberries on top. It became such a beloved tradition that now they refuse to eat crepes any other day of the year.
Getting The Perfect Swirl
I learned after dozens of lopsided crepes that the swirling motion needs to be confident and swift. Pour the batter into the center of the pan, then immediately tilt your wrist in a circular motion to encourage the batter toward the edges. The key is moving quickly before the batter sets, and you will develop a rhythm that feels natural after a few tries.
Keeping Them Warm
There is nothing sadder than a cold crepe, especially when you are cooking a whole stack for a hungry group. I place a clean kitchen towel over a plate and keep the finished crepes underneath, which traps the heat without making them soggy. For longer serving periods, you can place the plate in a 200 degree oven.
Honey Variations
Different honeys completely transform this simple dessert into something extraordinary. Wildflower honey adds floral notes, while buckwheat honey brings a deep, almost molasses like richness. Orange blossom honey is particularly lovely with fresh berries.
- Warm your honey slightly for a thinner, more even drizzle
- Mix a pinch of cinnamon into powdered sugar for an aromatic finish
- Try lemon honey with a squeeze of fresh lemon juice
 Save to Pinterest
 Whether for a lazy weekend breakfast or an elegant dessert, these honey drizzled crepes never fail to bring people to the table with smiles on their faces.
Questions & Answers
- → Why should I let the crepe batter rest?
-
Resting the batter for 15 minutes to 1 hour allows flour to fully absorb the liquid, preventing lumps and ensuring tender, delicate crepes. This crucial step results in smoother texture and easier cooking.
- → How do I know when to flip the crepe?
-
The edges will start to lift slightly from the pan and appear golden brown after 1-2 minutes. Gently slide a spatula underneath—if it releases easily, it's ready to flip. The second side needs just 30 seconds.
- → Can I make the batter ahead of time?
-
Absolutely. The batter actually improves with time and can be refrigerated overnight. Whisk briefly before using to recombine any settled ingredients. This makes morning preparation incredibly convenient.
- → What's the best way to reheat leftover crepes?
-
Stack crepes between parchment paper and wrap in foil. Warm in a 300°F oven for 5-10 minutes, or microwave individual crepes for 10-15 seconds. They'll taste nearly as good as freshly made.
- → Why is my first crepe always sticking?
-
This happens to everyone! The first crepe essentially seasons your pan and adjusts temperature. Don't worry if it's imperfect—the rest will cook beautifully as the pan reaches optimal heat distribution.
- → Can I freeze crepes for later?
-
Yes, freeze cooled crepes separated by wax paper in a freezer bag for up to 2 months. Thaw in refrigerator overnight, then warm gently before serving with your desired toppings.