
 Save to Pinterest
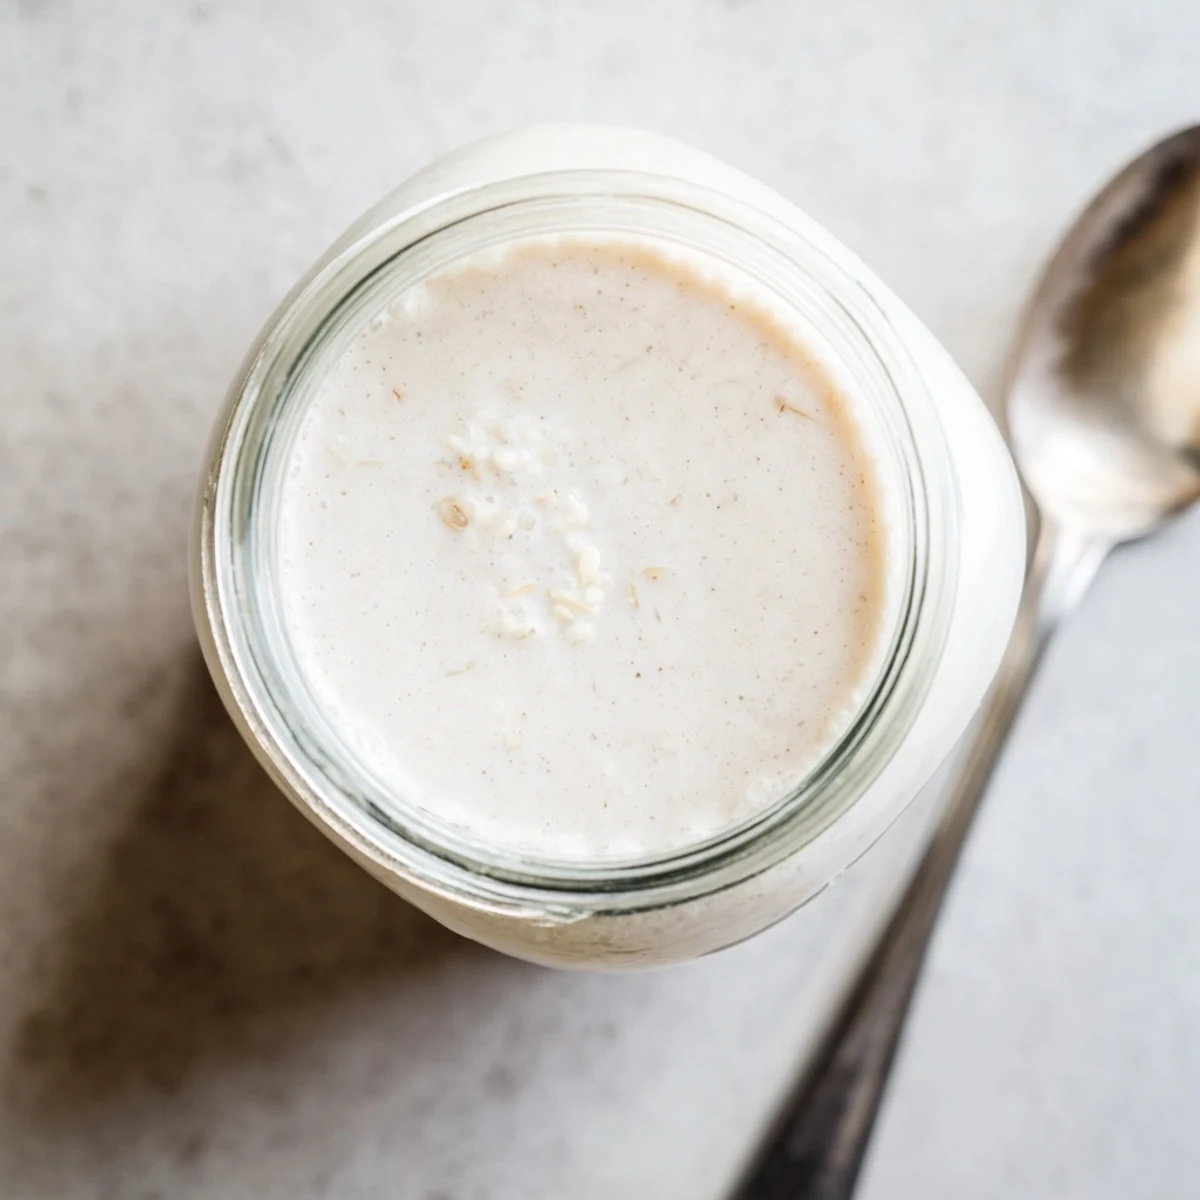
 Whip up fresh, creamy almond milk using simple ingredients and basic kitchen tools. This dairy-free alternative delivers rich flavor perfect for morning coffee, smoothies, or baking projects. The process requires soaking raw almonds overnight, blending with filtered water, and straining through a nut milk bag or cheesecloth for silky results. Customize with vanilla, sweetener, or sea salt to match your taste preferences. Each batch produces approximately one liter and stays fresh in the refrigerator for four to five days.
The whir of my blender at six in the morning has become a sound my partner affectionately calls the almond alarm clock, and honestly, I wear that title with pride. There is something deeply satisfying about pouring fresh, cold almond milk over granola and knowing you made it yourself with nothing more than almonds, water, and a little patience. It started as a weekend experiment and quietly turned into a non negotiable weekly ritual. Once you taste the homemade version, the store bought carton never quite measures up again.
My friend Sara watched me strain a batch one afternoon and declared it looked like a science experiment, but ten minutes later she was standing in my kitchen drinking it warm with a little honey and cinnamon, completely converted. She texted me that same evening asking where to buy a nut milk bag, which is the kind of quiet victory that makes sharing recipes worthwhile.
Ingredients
- 1 cup raw almonds: Use truly raw, unsalted almonds with the skin on, since blanched ones produce a thinner, less flavorful milk.
- 4 cups filtered water: Good water matters here because it is the base of everything, so skip the tap if you can.
- 1 to 2 tablespoons maple syrup or honey, optional: A gentle sweetener lifts the nuttiness without turning it into dessert.
- 1 teaspoon vanilla extract, optional: This adds a bakery warmth that makes the milk feel like a treat rather than a staple.
- Pinch of sea salt, optional: Just a tiny amount sharpens every flavor and keeps the milk from tasting flat.
Instructions
- Soak the almonds:
- Place the almonds in a bowl, cover generously with water, and leave them on the counter for at least eight hours or in the refrigerator overnight until they look plump and soft to the touch.
- Drain and rinse:
- Empty the soaking water, rinse the almonds thoroughly under cool running water, and watch how different they feel now, almost like little water balloons between your fingers.
- Blend until velvety:
- Toss the soaked almonds into your blender with four cups of fresh filtered water, then run it on high for one to two minutes until the mixture looks creamy white and uniformly smooth.
- Add flavor if you like:
- Dump in your sweetener, vanilla, and a pinch of salt, then blend for another ten seconds just to bring everything together.
- Strain through a nut milk bag:
- Set a nut milk bag or a cheesecloth lined strainer over a large bowl or jug, pour the blended mixture through it, and gather the cloth to start squeezing firmly.
- Squeeze every last drop:
- Press and twist the bag with both hands until the pulp inside feels nearly dry, because that last bit of pressure gives you the richest, creamiest yield.
- Store and enjoy:
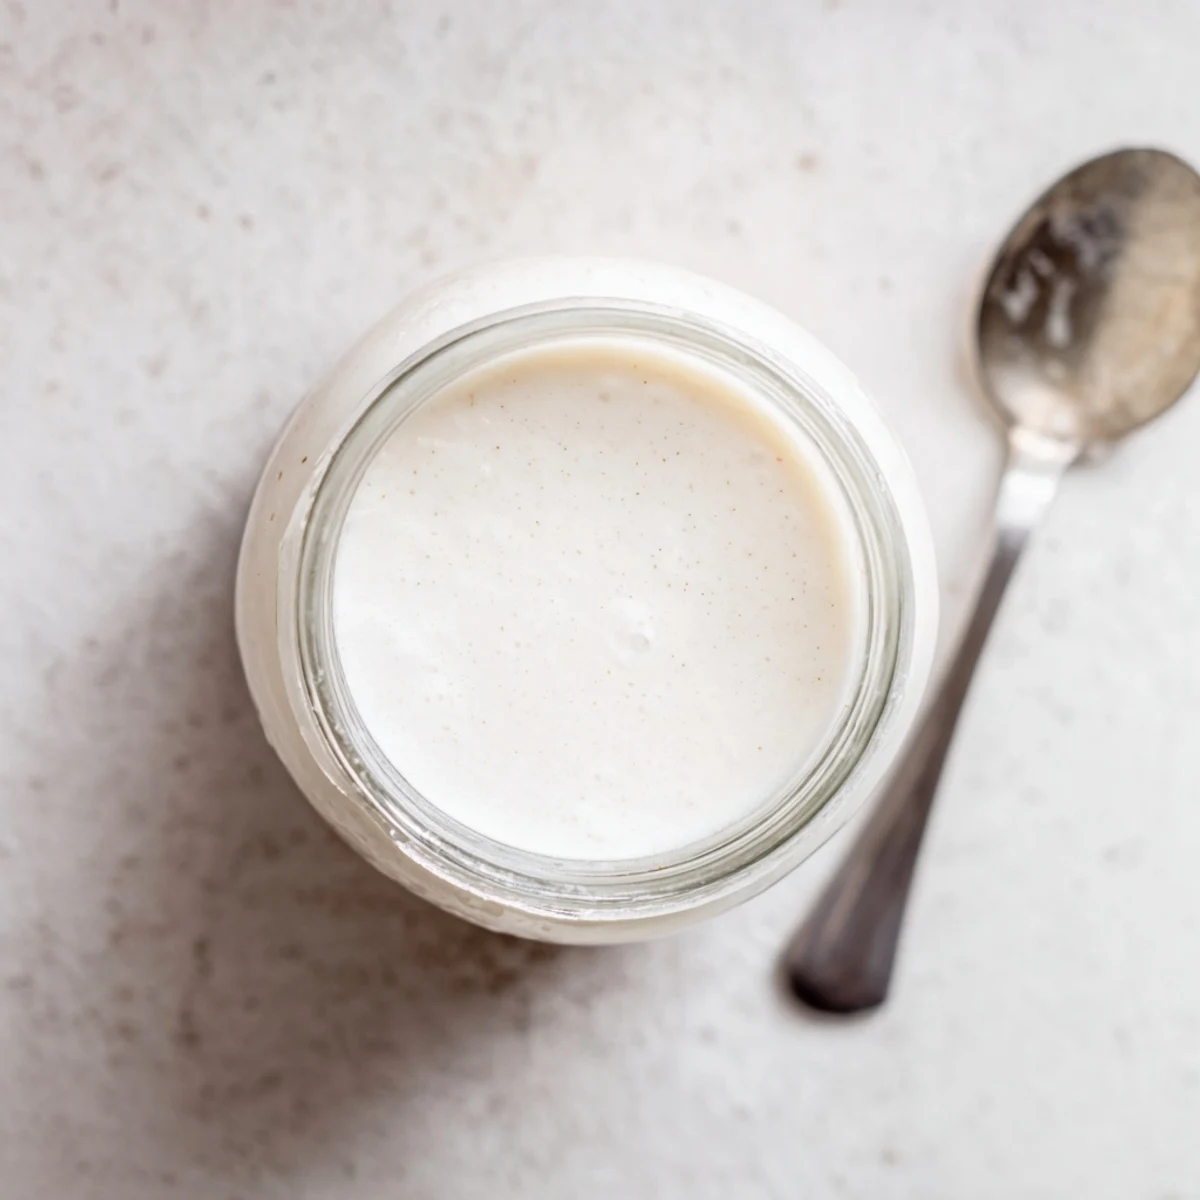
- Pour the finished milk into a clean bottle or jar, seal it tight, and keep it refrigerated for up to five days, shaking well before each use since natural separation is completely normal.
 Save to Pinterest
 There was a stretch last winter when I gifted small jars of fresh almond milk to neighbors with handwritten labels, and one of them knocked on my door the next day asking if I could teach her how to make it with her kids. That tiny gesture turned into a Saturday morning blending party in three different kitchens on the same block, and I still smile thinking about all those blenders humming in unison.
Getting the Consistency You Want
If you prefer a richer, more luxurious milk that coats the tongue like half and half, simply reduce the water to three cups instead of four and blend a little longer. For a lighter version that works beautifully in savory recipes like mashed potatoes or creamy soups, bump it up to five cups. The beauty of making it yourself is that you can dial it in exactly to your liking every single batch.
Fun Flavors Worth Trying
Once you have the basic method down, the variations are almost endless and honestly a little addictive. A tablespoon of cocoa powder blended in at the end creates a deeply satisfying chocolate almond milk that tastes like a childhood treat. Drop a cinnamon stick or a slice of fresh ginger into the stored bottle for a subtle spiced version that makes cold mornings feel special.
Storing and Using Every Last Drop
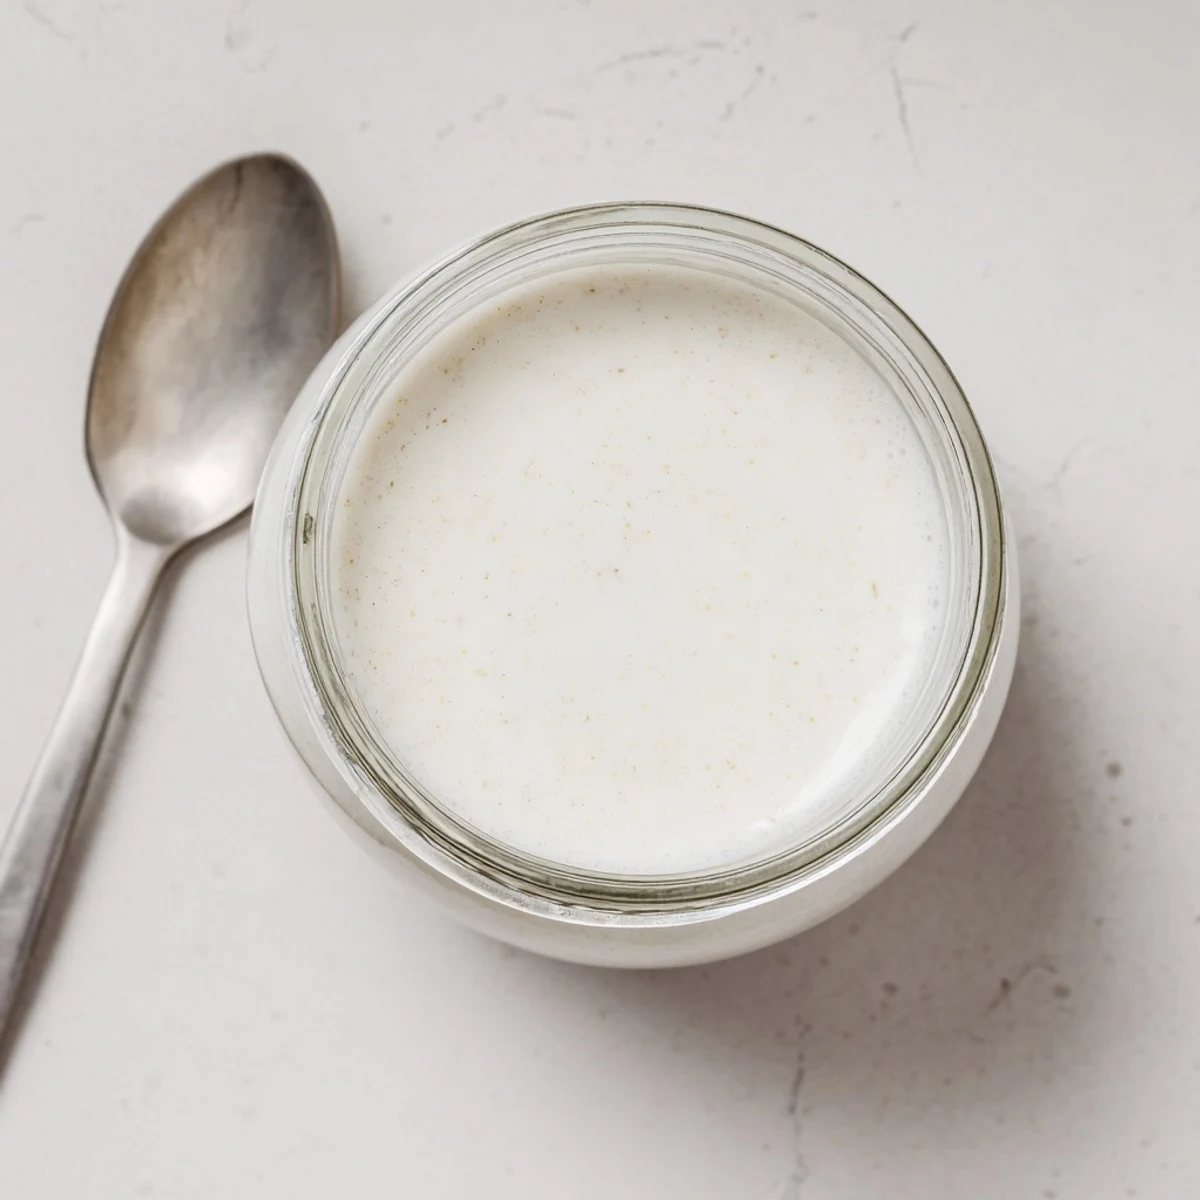
Homemade almond milk separates naturally because it lacks the stabilizers found in commercial brands, so a quick shake before pouring is all it needs. It stays fresh for four to five days refrigerated, though in my house a full liter rarely survives past day three. Freeze any extra in ice cube trays for smoothies, or pour it into popsicle molds with a drizzle of honey for a simple summer treat.
- Always use a clean, airtight container to maximize freshness.
- Label the jar with the date so you know when it is time to make a new batch.
- Trust your nose more than the calendar, since fresh almond milk has a distinctly sweet, nutty aroma when it is good.
 Save to Pinterest
 Fresh almond milk is one of those small kitchen rituals that pays for itself in flavor and satisfaction, and once it becomes part of your rhythm, you will wonder why you ever settled for the carton version. Happy blending, and enjoy every creamy sip.
Questions & Answers
- → How long does homemade almond milk stay fresh?
-
Store your almond milk in a sealed bottle or jar in the refrigerator for up to 4-5 days. Shake well before each use as natural separation occurs. Always check for any off smells before consuming.
- → Do I really need to soak the almonds?
-
Yes, soaking almonds for at least 8 hours softens them, making blending easier and producing creamier milk. This process also helps break down phytic acid and improves nutrient absorption.
- → Can I make almond milk without a nut milk bag?
-
A nut milk bag works best, but you can use a fine mesh strainer lined with several layers of cheesecloth. Press firmly with a spoon to extract maximum liquid, though some texture difference may occur.
- → What can I do with the leftover almond pulp?
-
Don't waste the pulp! Dry it in a low oven and use as almond flour in baking, add to smoothies for extra fiber, mix into energy bites, or incorporate into homemade granola.
- → How can I make my almond milk creamier?
-
Use less water—try 3 cups instead of 4 for a thicker consistency. You can also add a few more almonds or blend longer to break down the nuts more thoroughly.
- → Is homemade almond milk cheaper than store-bought?
-
Yes, making almond milk at home typically costs less than premium brands. One cup of raw almonds yields about one liter, making it economical especially when buying almonds in bulk.